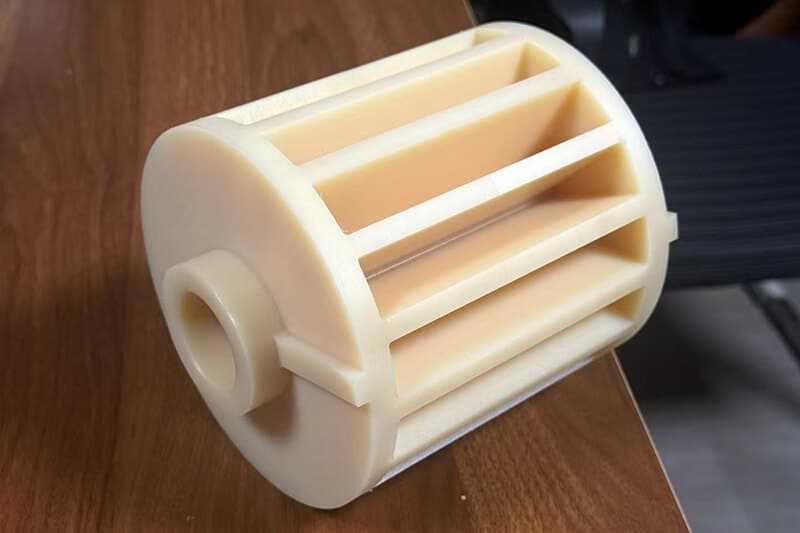
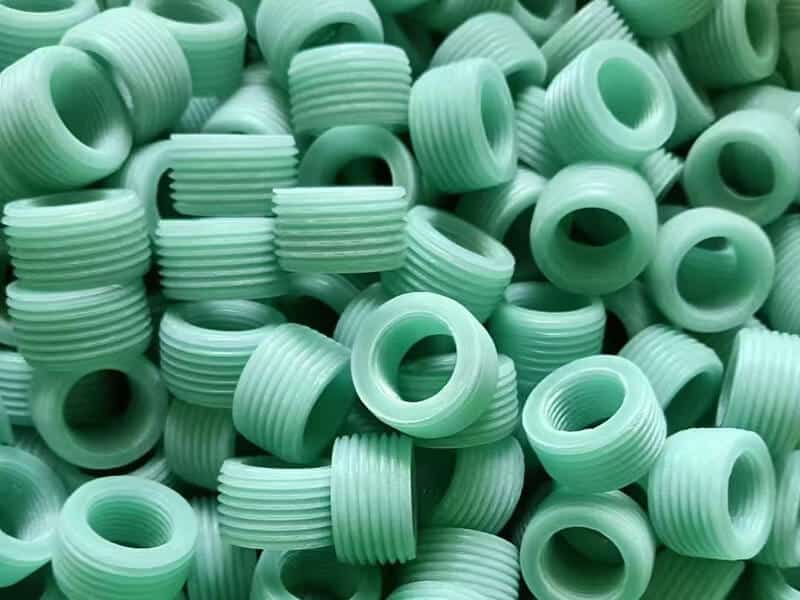
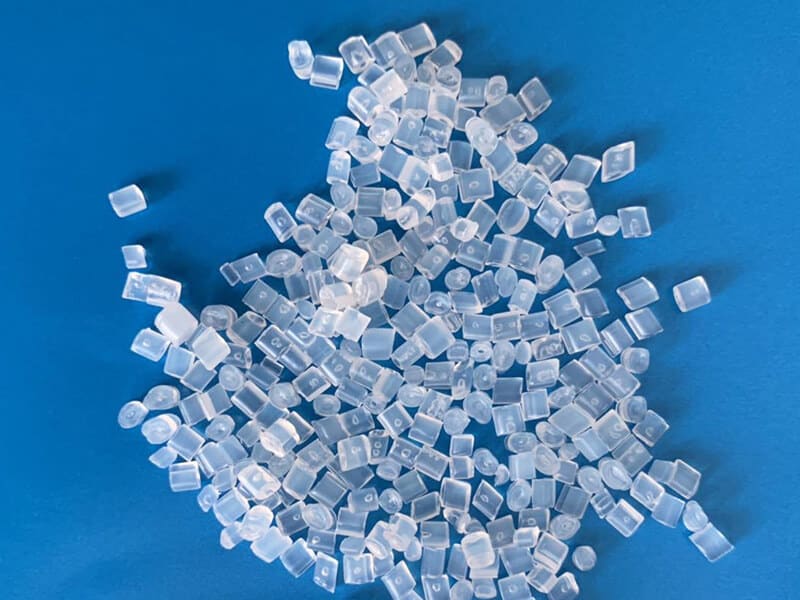
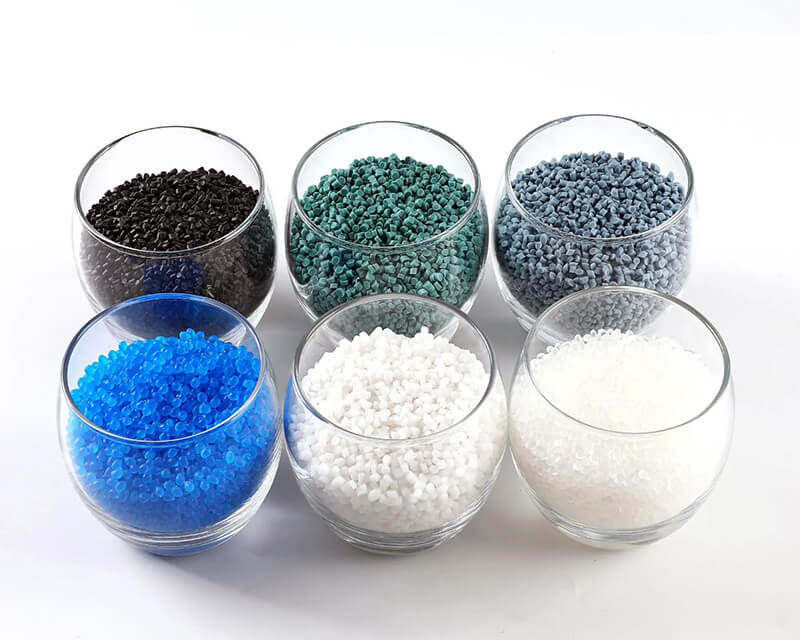
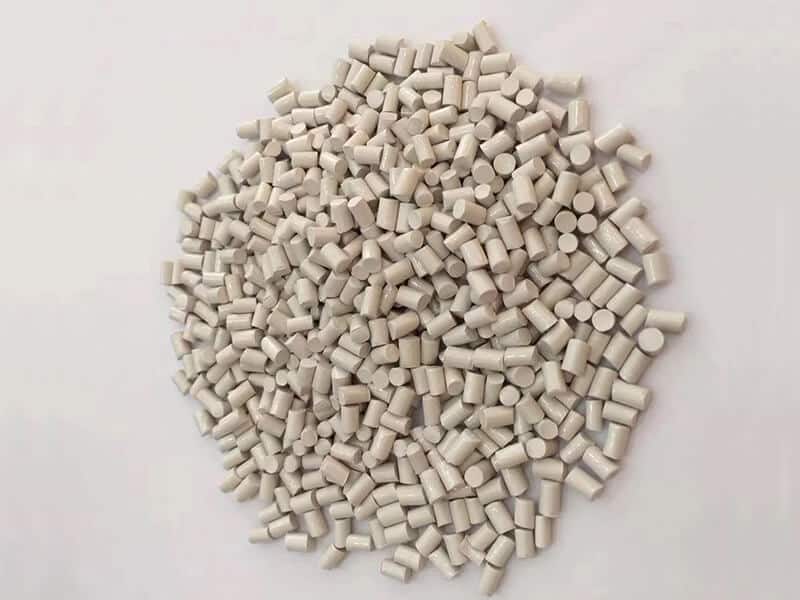
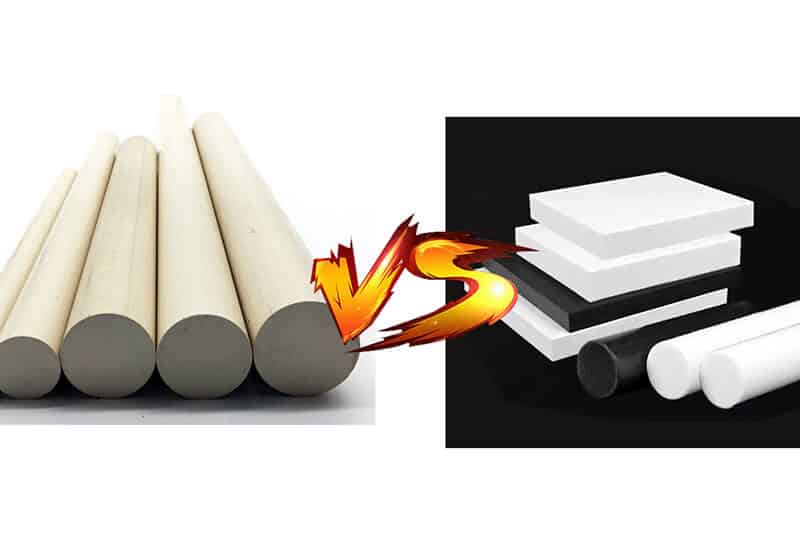
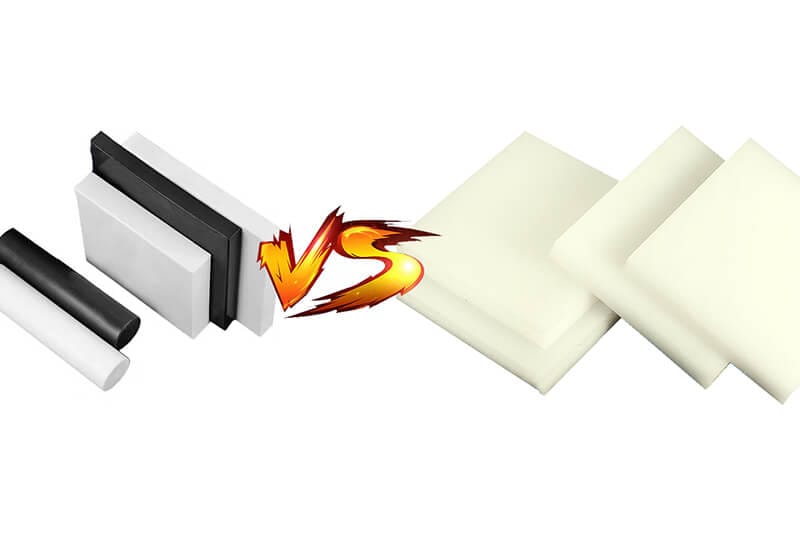
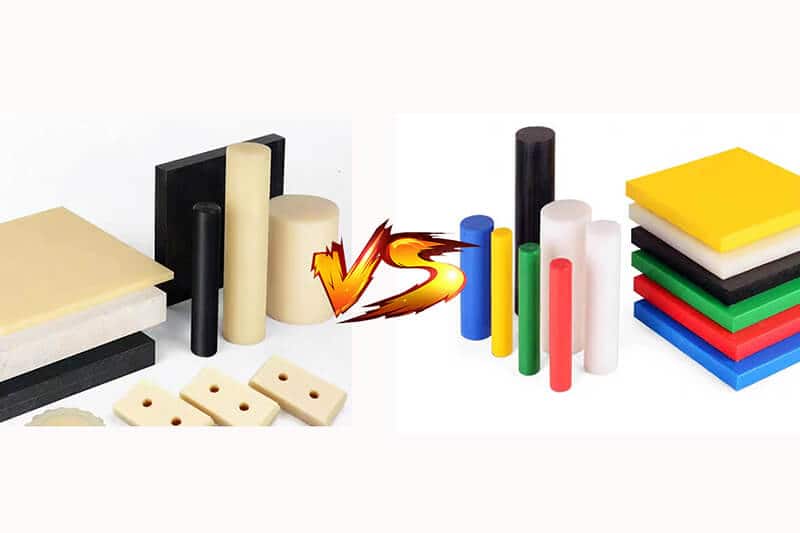
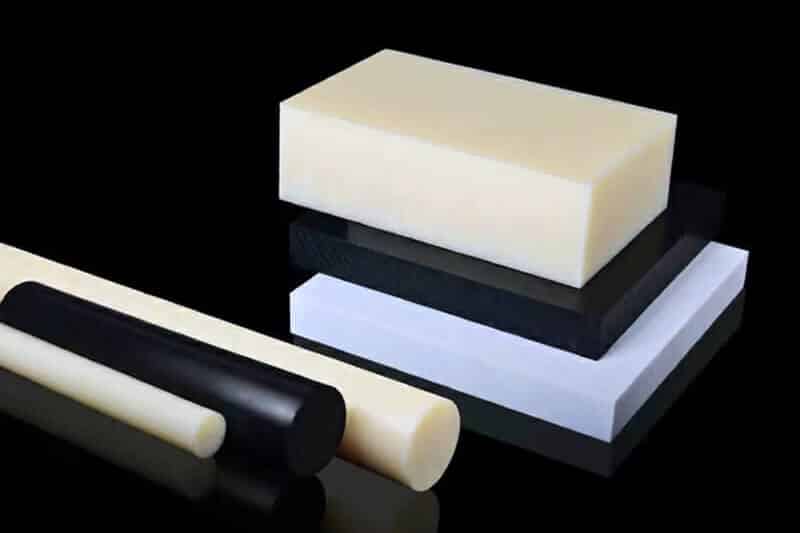
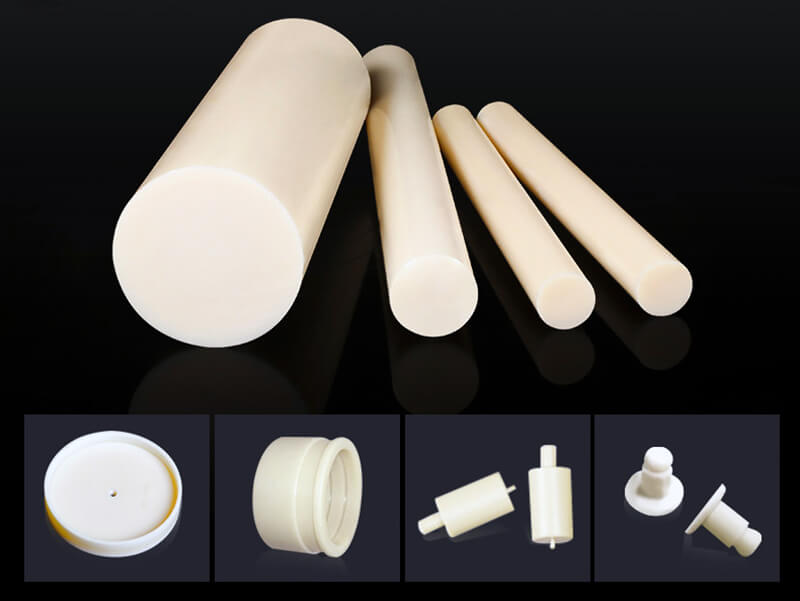
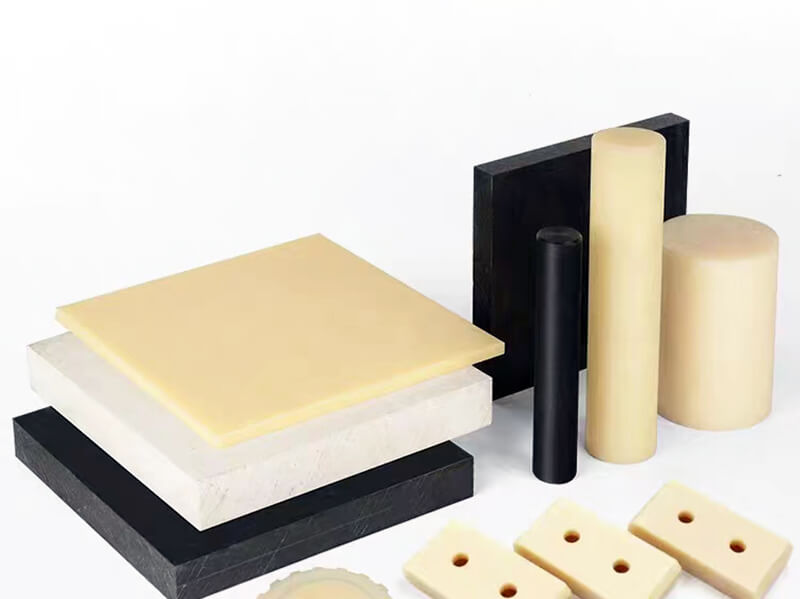
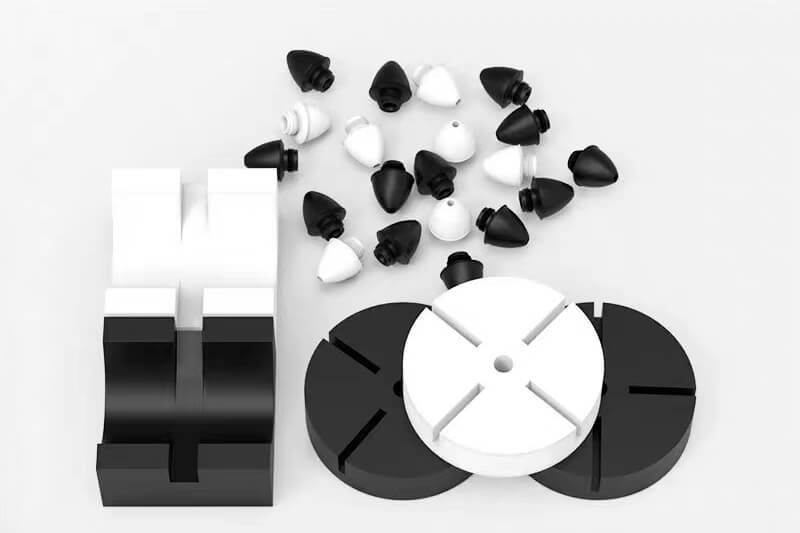
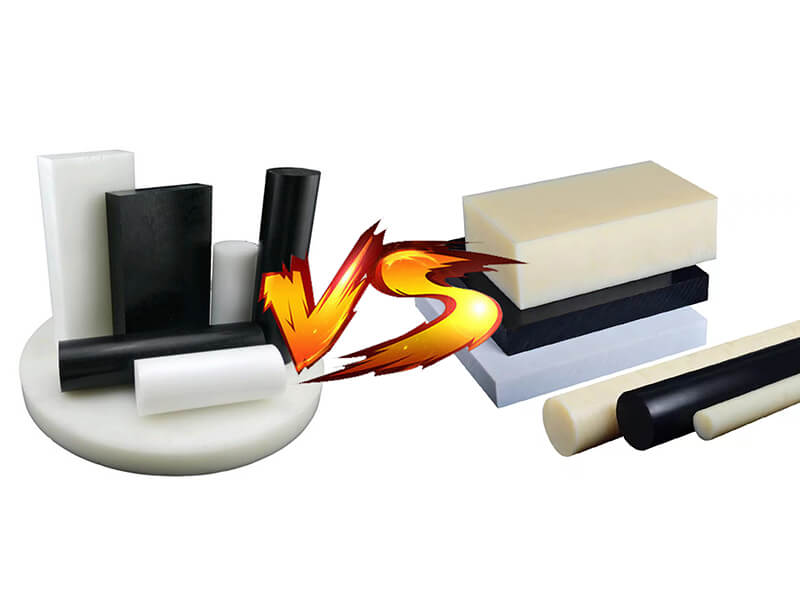
also known as polyoxymethylene, is a thermoplastic polymer. It is a highly favorable construction material in various industries due to its accommodated mechanical properties and versatility. Most importantly, Acetal has a higher degree of machinability. This engineering material can easily be given any shape, size, and design.
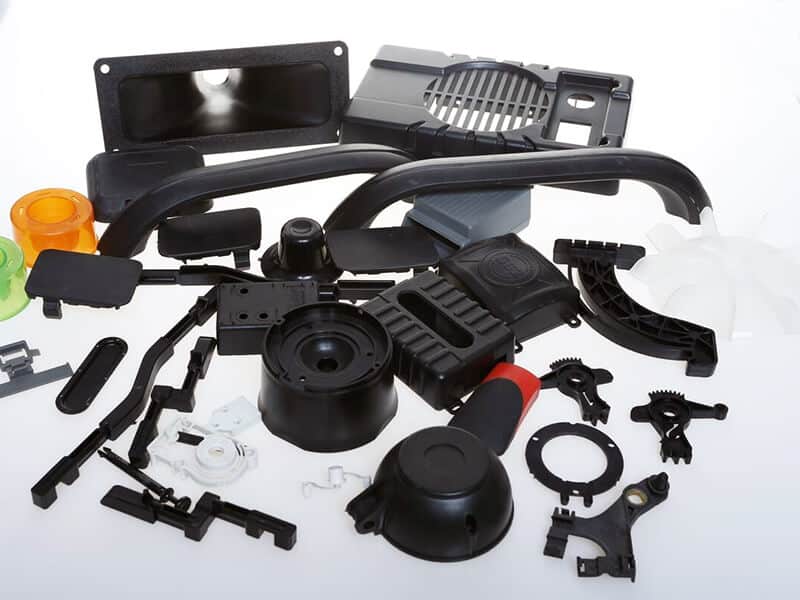
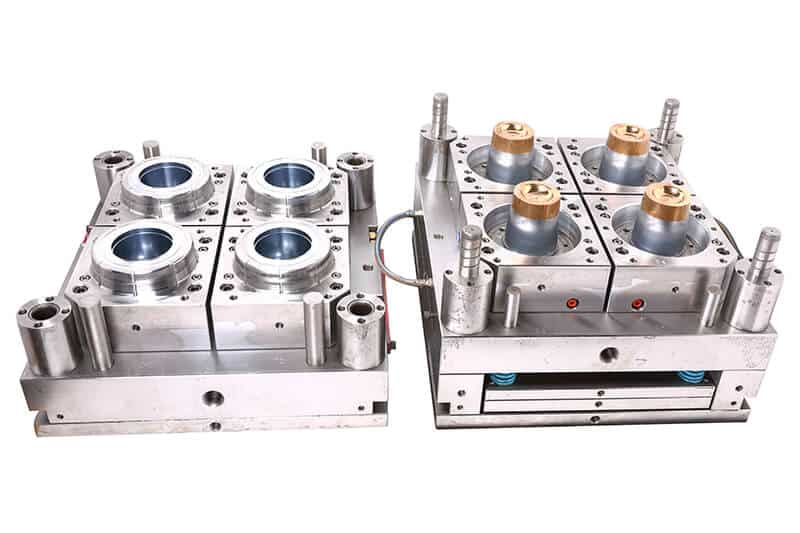
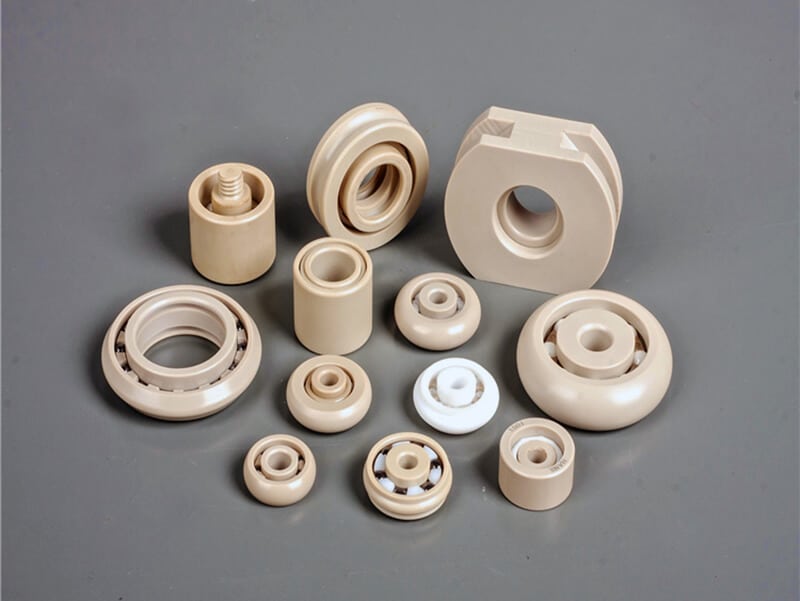
Acetal’s enormous adaptability directs professionals towards Acetal machining to form mechanical components or parts for automotives, aircraft, medical equipment, etc. In this article, we provide a comprehensive guideline for Acetal machining. We also provide tips to deal with machining challenges like chip control, heat management, etc.
Advantages of Machining Acetal
Here are the competitive advantages of machining Acetal.
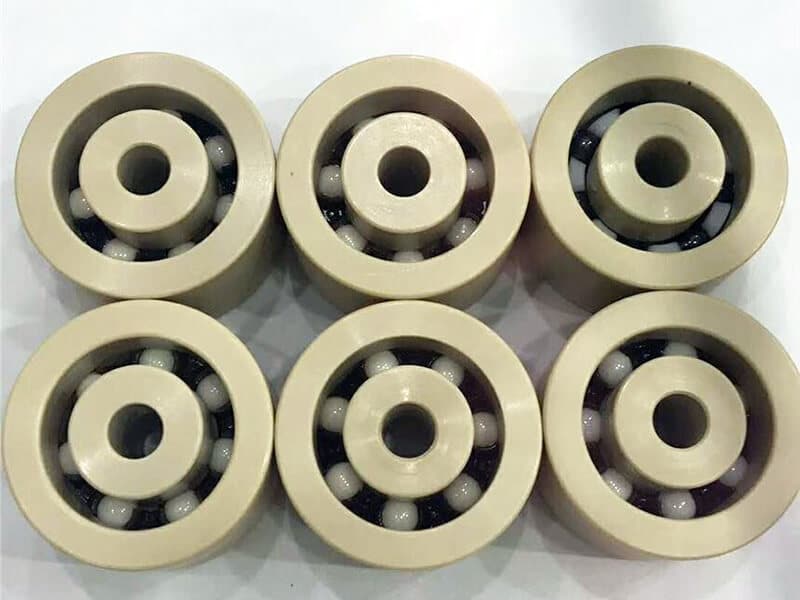
Acetal has superior resistance to friction and a low friction coefficient. By having these properties, its machining allows it to produce applications with reduced friction and wear are crucial, like gears and bearings.
The associated corrosion-resistant and single-stage production directs industries to machine Acetal to produce durable and high-quality parts.
Machining the Acetal and using the component in a desired part of a mechanical item welcomes good creep resistance, fatigue resistance, and impact tolerance.
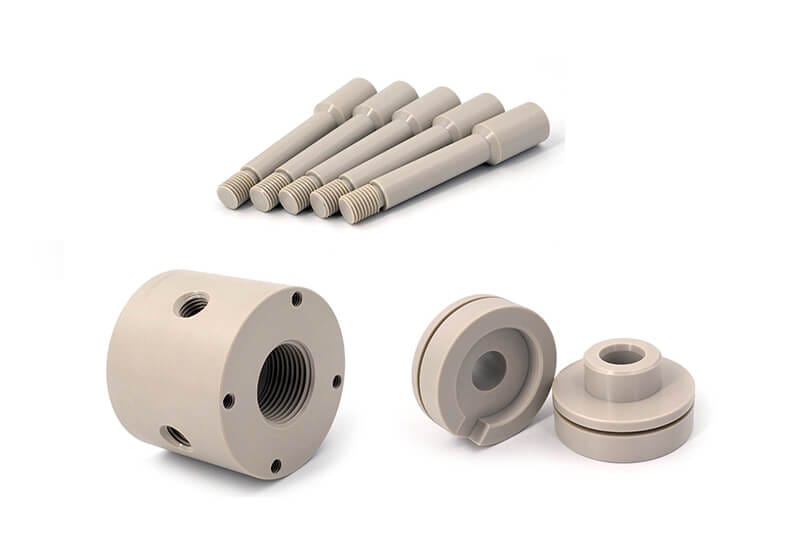
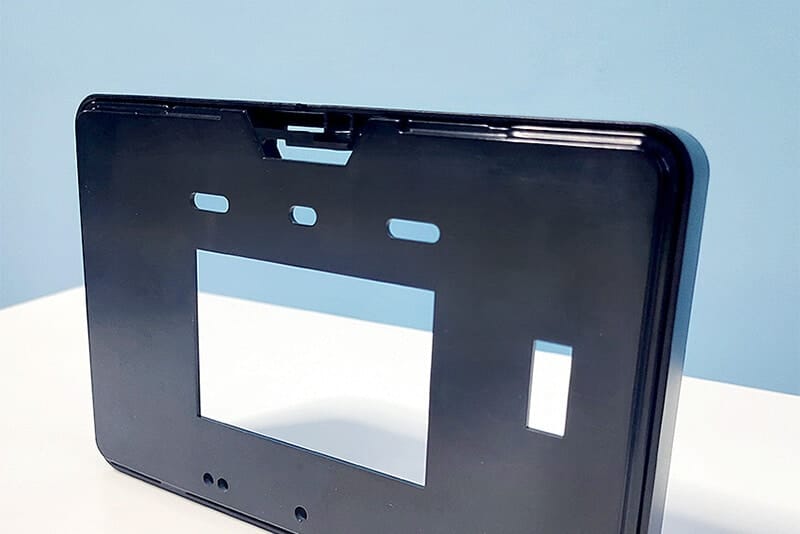
Acetal’s higher degree of machinability allows designers and producers to get a space-saving design. Finally, the machined Acetal assists in producing a final product that consumes less space.
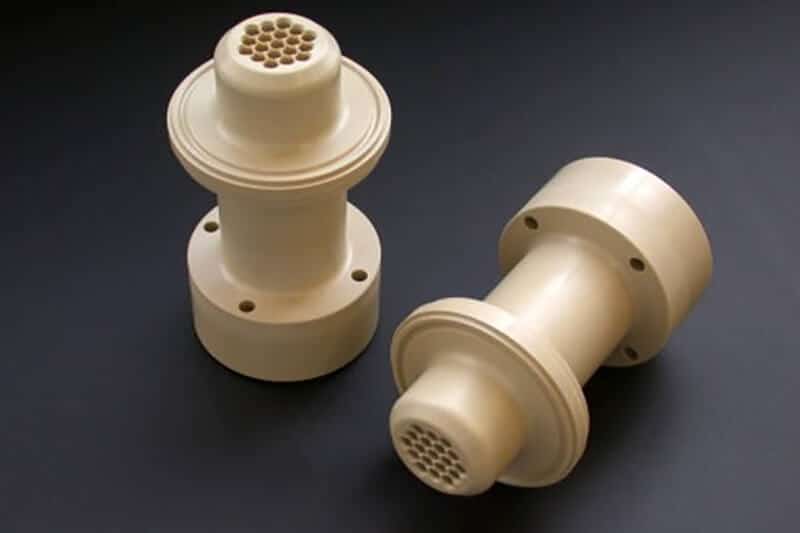
Acetal machining helps manufacturers produce parts or mechanical components that require dimensional stability, adequate stiffness, chemical resistance, etc.
How to Do Acetal Machining
In this section, we detail various machining processes of Acetal. Before starting the processes, we suggest you use safety equipment like goggles, heavy-duty gloves, dust masks, etc., while doing the machining.
Process of Sawing Acetal
Set up the respective block on the saw’s work surface by using the integrated clamp of the setup. Ensure that the piece of Acetal does not move while the swing is going on.
In the case of the selection of blade, we highly recommend using a carbide blade, not the conventional aluminum one. Below is the specification of the right blade:
Clearance angle: 30 for band saw and 10-15 for circular saw.
Cutting angle: 0-8 for band saw and 0=10 for circular saw.
Speed of cutting: For band saw: 180-1000 m/min and for circular saw: 1000-3000 m/min.
Teeth number: 4-5 per inch for band saw and 20-80 per inch for circular saw.
Keep the blade slightly above the thickness of the acetal material. This will prevent excessive friction during the cutting process. Also, set the saw’s speed to moderate to deal with excessive heat generation.
Start the sawing by maintaining a slow and steady feed rate. Use coolant to trigger heat dissipation and get a perfect finish.
Use a deburring tool or fine-grit sandpaper to smooth out the edges if needed.
Process of Drilling Acetal Using HSS Drill
Below is the stepwise guideline.
Set the initial Acetal block, sheet, or rod on the drilling platform. The Acetal piece must have the points drawn to create the holes.
Fix the drill machine at the appropriate position. Below are the considering points:
Clearance angle in degree: 5-10
Cutting angle: 3-5
Cutting speed: 25-100 m/min
Forwarding feet/tooth: 0.1-0.5 mm/rev
Point angle: 70-90 degree
Start drilling carefully. It is good to take out the chips in the drilling process. If the Acetal piece is a block with high thickness or the requirement is to create a deep hole, continuous extraction of chips is necessary.
After completion of the drilling work, check the overall finishing.
Use fine-grade sandpaper to take the finishing level to the maximum.
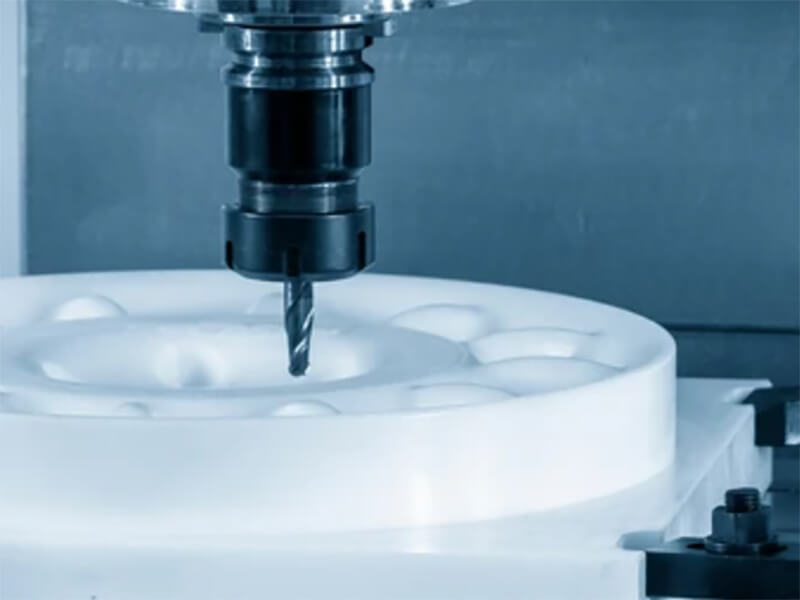
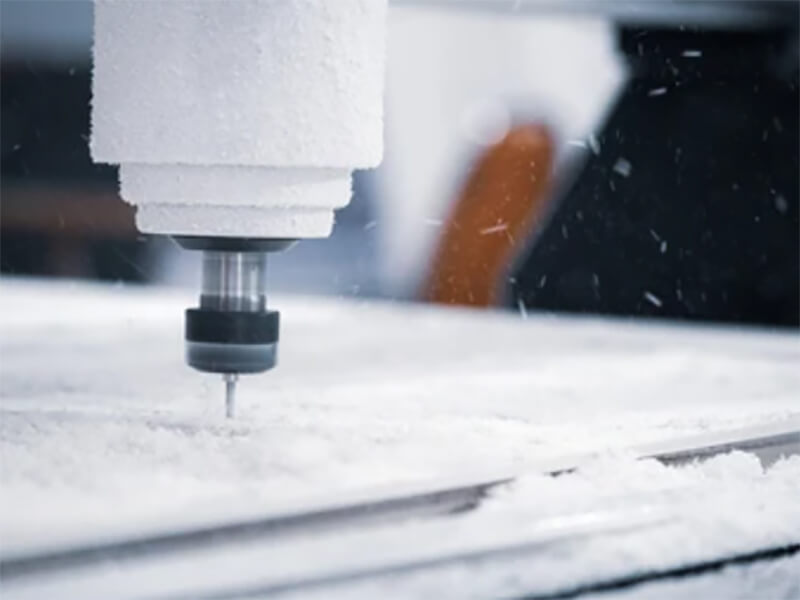
Milling of Acetal Using CNC
In the milling process, we inform the CNC machining process of Acetal.
Depending on the form and size of the initial piece of Acetal, draw the respective shape on CAD. Create holes, threads, etc., as per the required specifications.
Give it the required shape on the software using the “manufacturer” function. Set the respective profile very accurately.
In the CAD’s actual detail section, input the lathe speed, etc. Follow the below points.
Clearance angle in degree: 5-10
Cutting angle: 0-10
Cutting speed: 0-1000 m/min
Forwarding feet/tooth: not more than 0.5
Twisting angle Maximum up to 40
For any threading, cutting, etc., it is better not to set the program to a single-stage finish. It is always better to set it as a three to five-stage process to restrict the generation of mass amounts of chips.
Now, it is time to set the initial piece of Acetal to the machine.
Let the machine do its job under human supervision.
Take out the Acetal chip’s dispositions from time to time within the process.
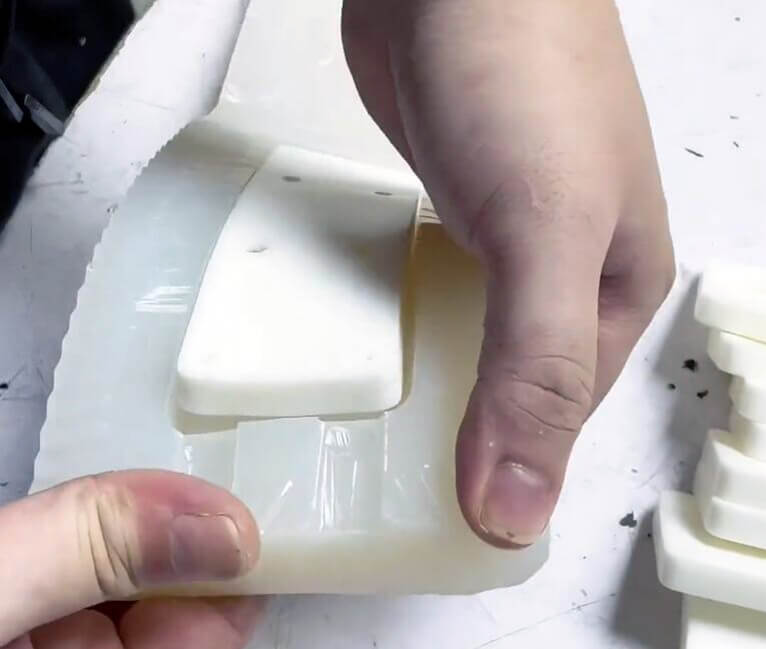
Finally, check the finishing. If any issue, use a deburring tool to trigger a perfect finish. Here, it is not good to put greater pressure on the edges while doing the finishing tasks as it can host deformation. And the deformation will lead to the inappropriate fitting of the component in the main item.
After finishing the milling, clean the workspace.
Tips to Minimize Challenges in Acetal Machining
Apply the below tips in the machining process of Acetal to deal with issues like inappropriate shaping, excessive heat generation, a huge amount of chip formation, etc.
Always use well-sharpened cutting tools to ensure clean cuts and reduce heat generation.
Use only the tools with the mentioned geometry.
Acetal has a low melting point, so monitor heat generation closely. Make the necessary adjustment of machining speed to restrict melting.
It is better to use coolant for lubrication.
Ensure proper chip evacuation to prevent chip buildup, which can lead to poor finishes and tool breakage.
Climb milling is the best approach to getting better machine work.
Final Words
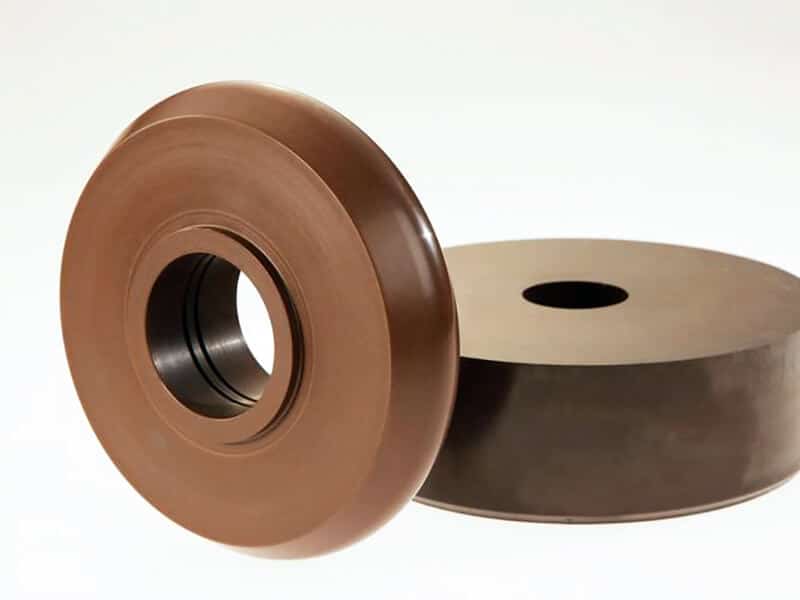
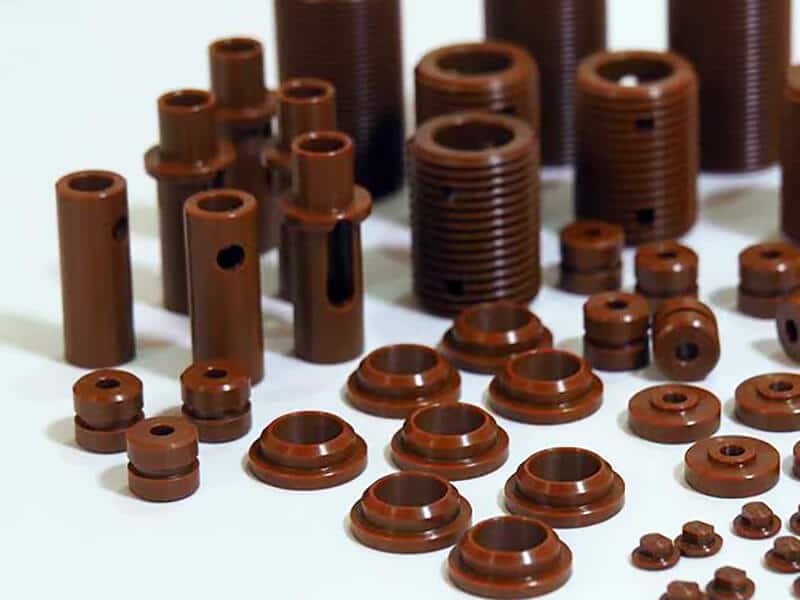
We expect this guide on how to do Acetal machining. This guide is helpful for picking the right tools, managing heat, and extracting chips. Additionally, the stepwise guidelines are designated to inform the effective way to do milling, drilling, threading, turning, etc. Finally, this guide bridges the knowledge and practical skills to turn Acetal into shapes to create some core parts of a machine or system.
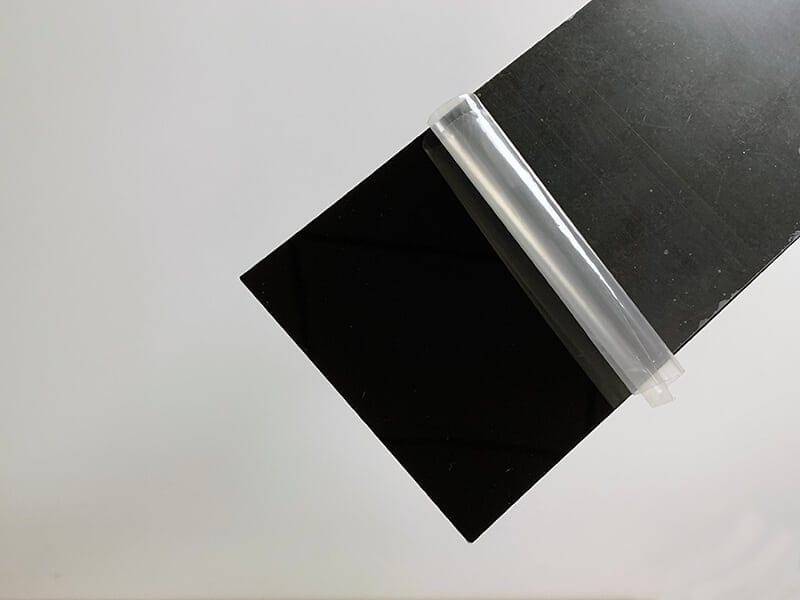
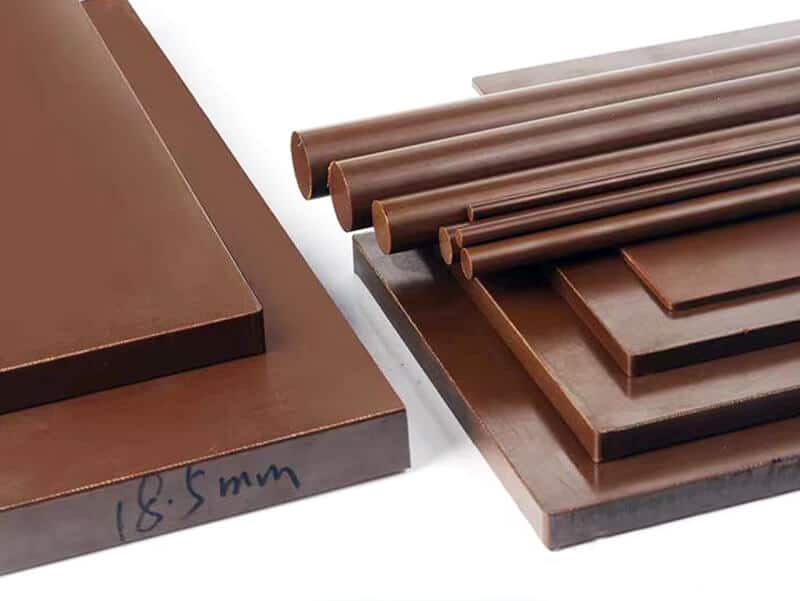
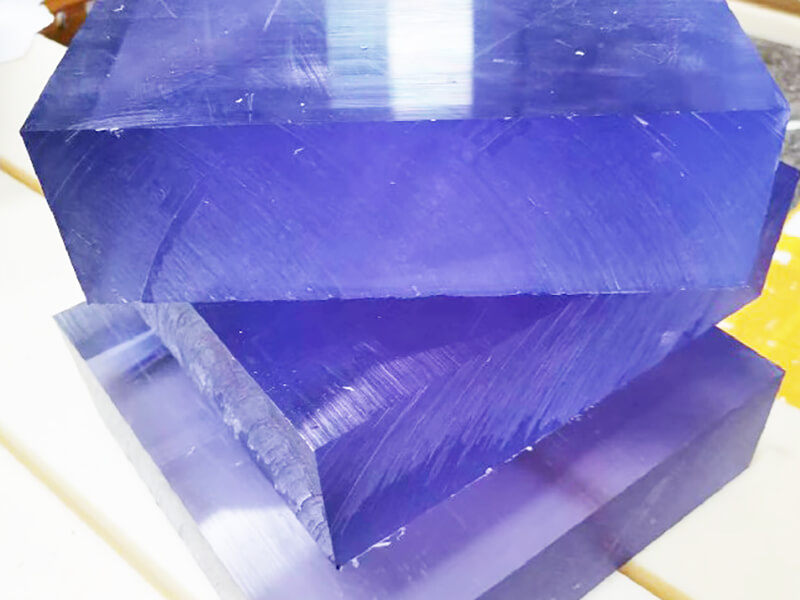
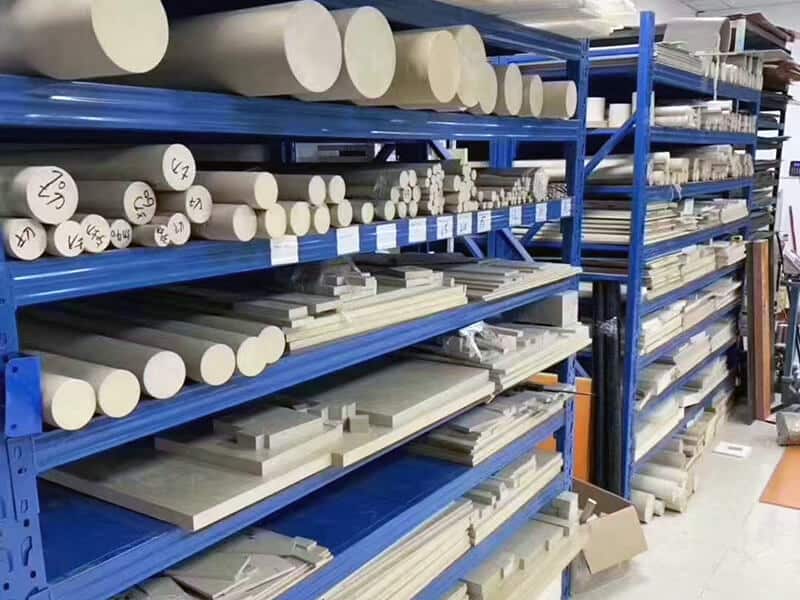
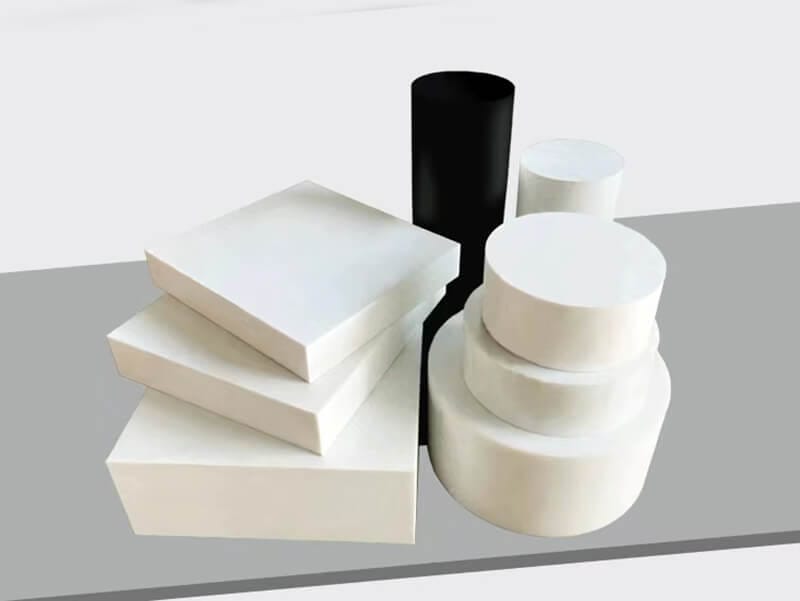
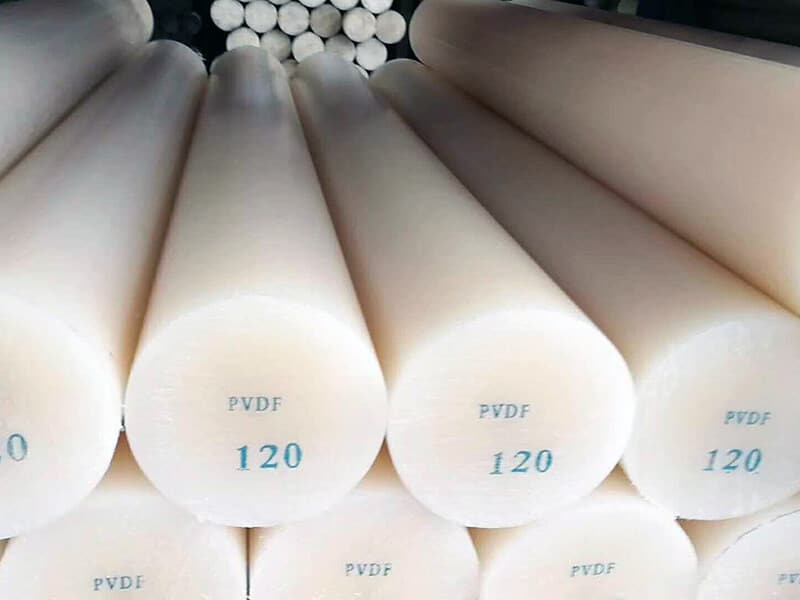
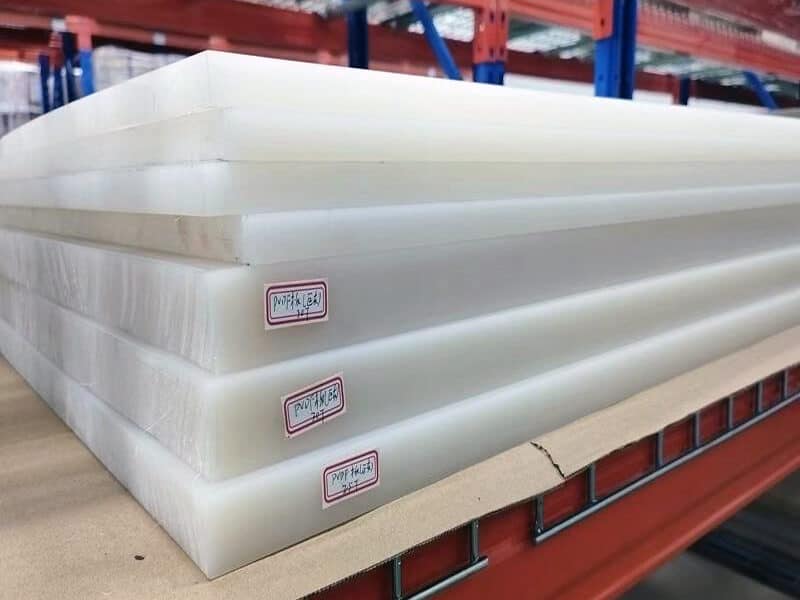
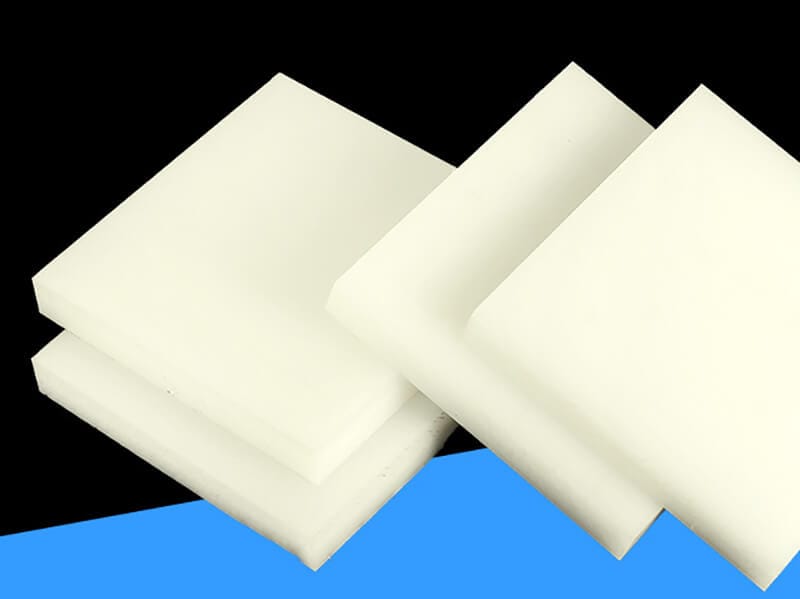
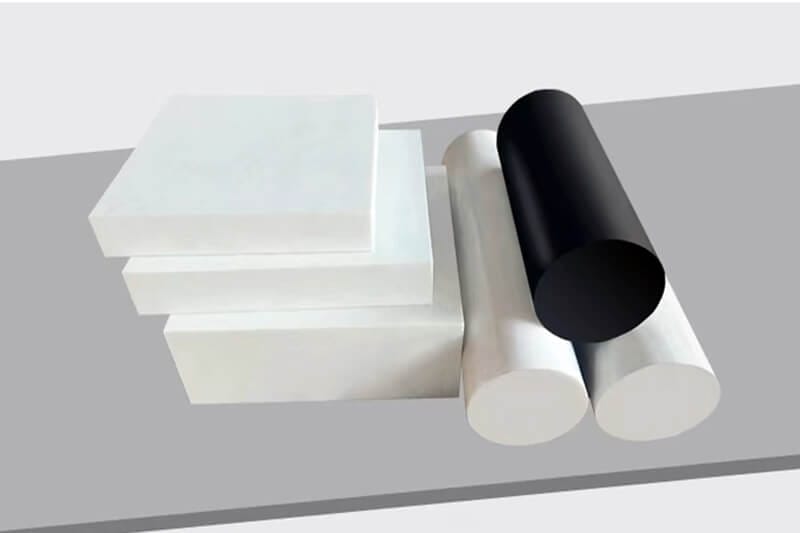
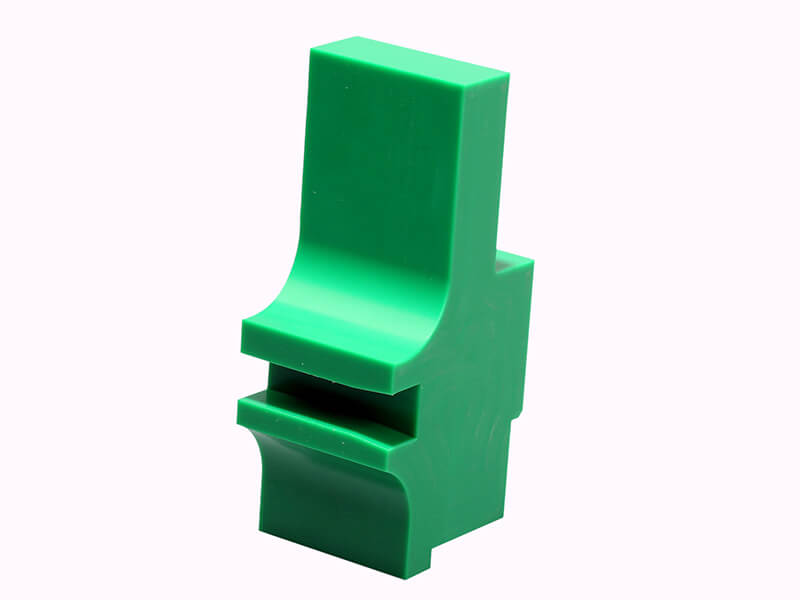
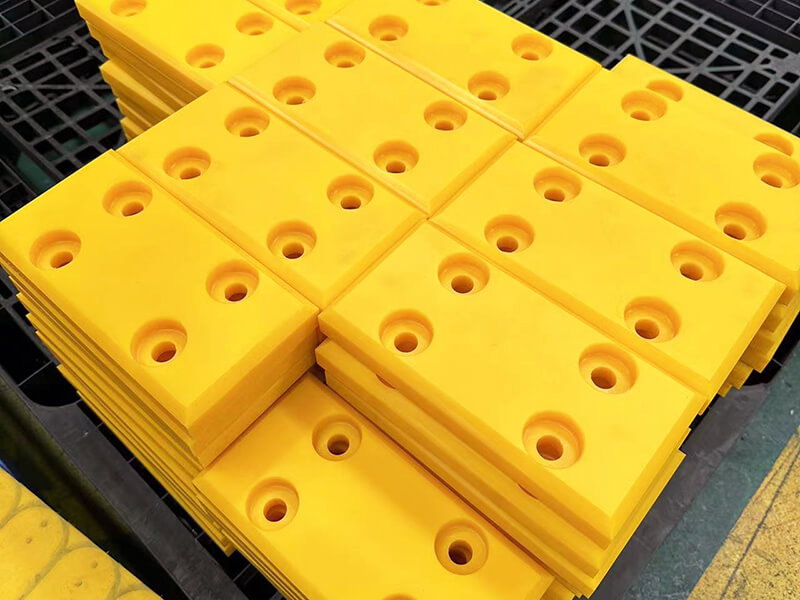
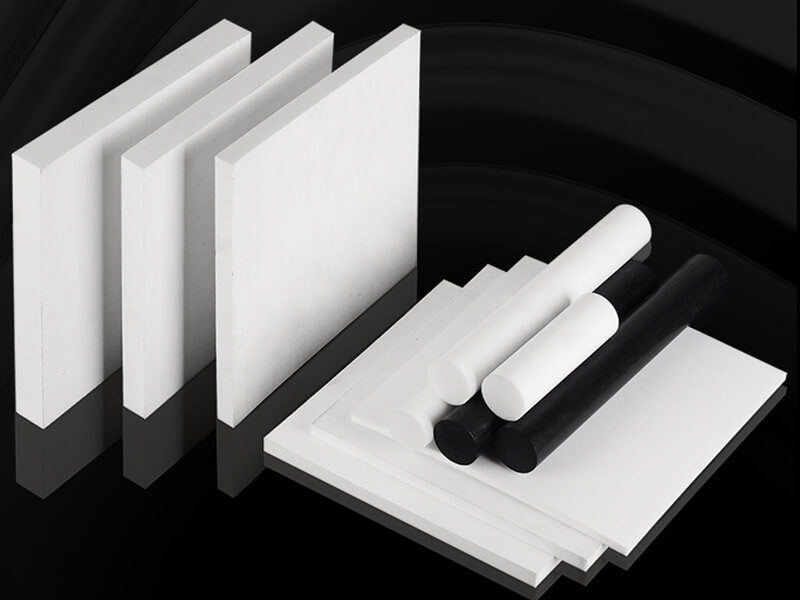
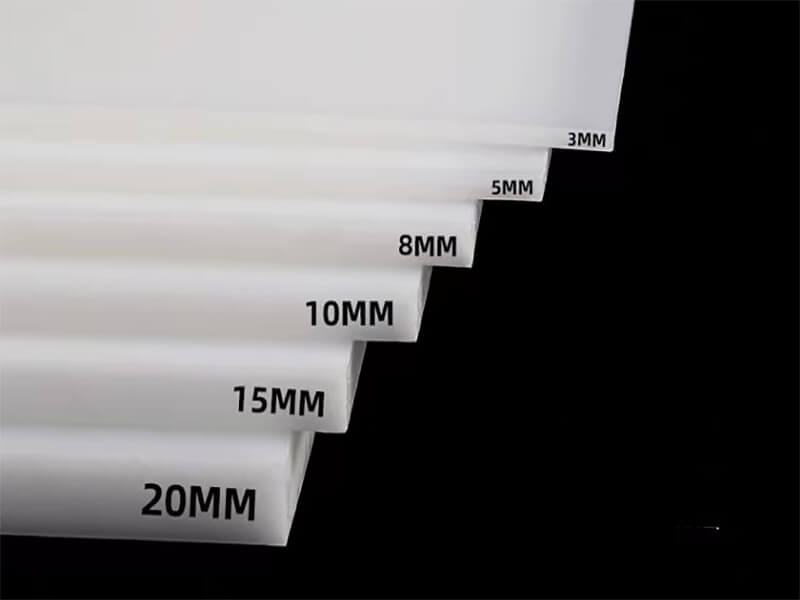
As a leading supplier of Acetal in China, UVTECO stocks Acetal sheets, rods and tubes in the commonly used size, meantime, we provide machining service for global clients.
Need a Trustworthy Supplier of Plastic, Foam, Sponge, Rubber, Metal, and Machining Solution. Click the Button, We Will Be In Touch With You As Quickly As Possible.