Everything You Need to Know about Machining Delrin/Acetal/Polyoxymethylene/POM
Discover the ultimate Comprehensive Guide on Machining Delrin: Our expert insights ensure flawless results from tools to techniques.
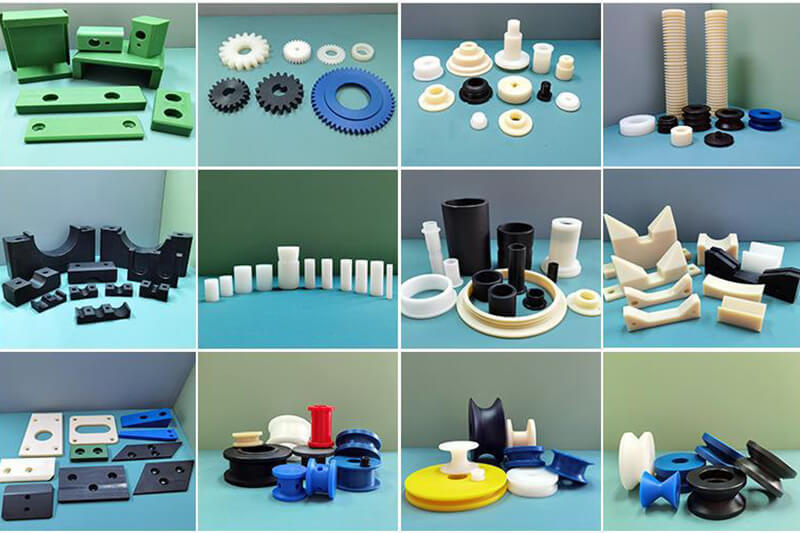
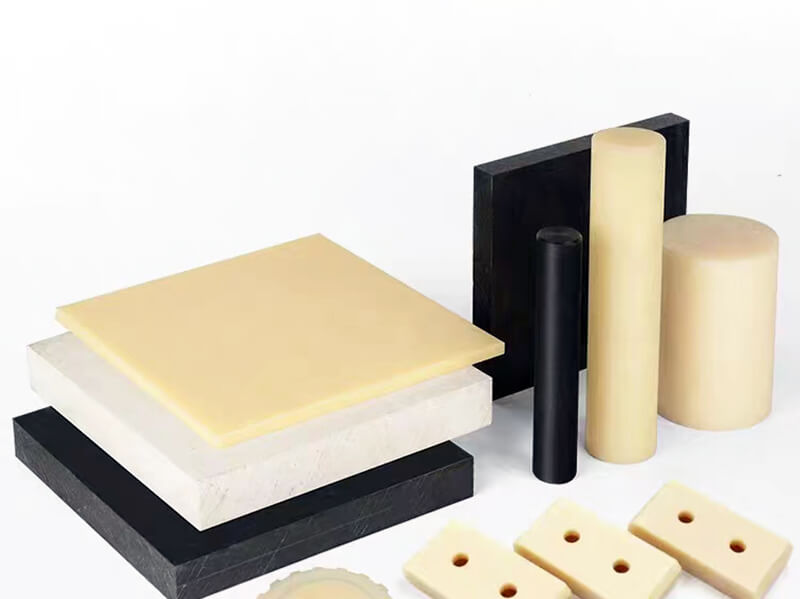
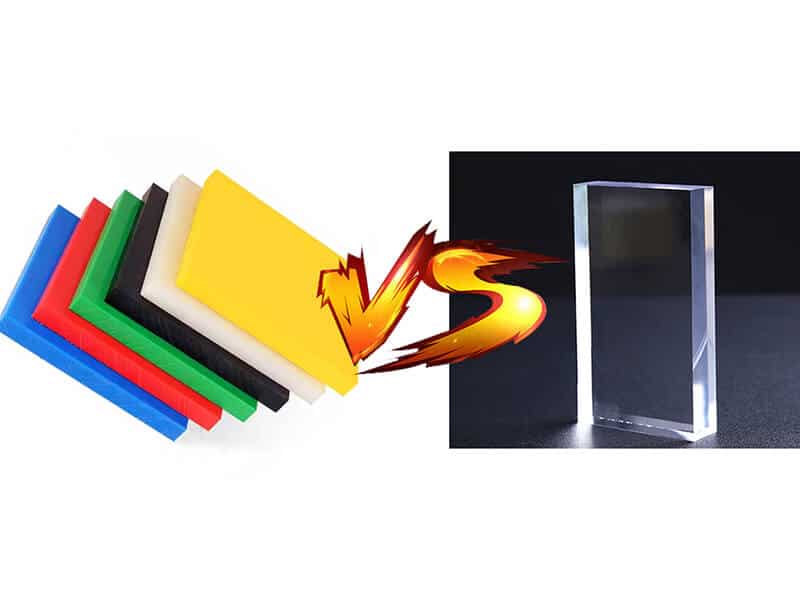
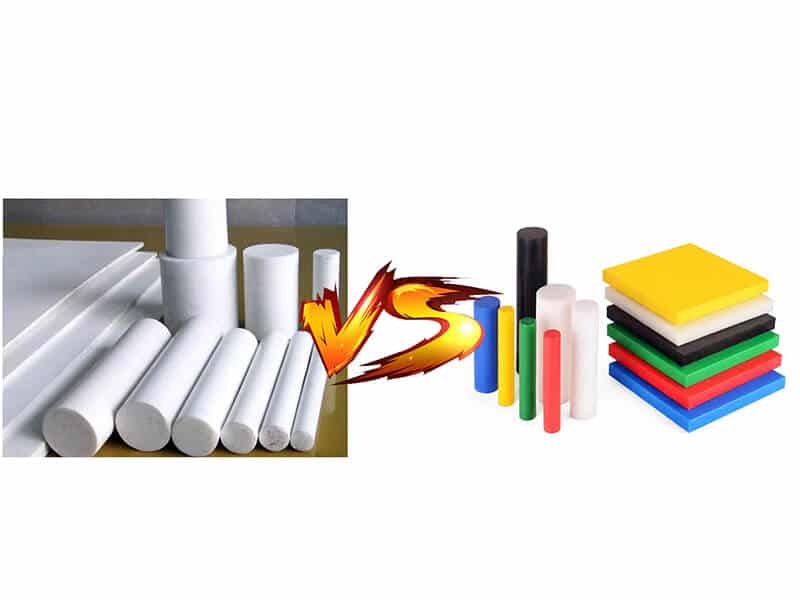
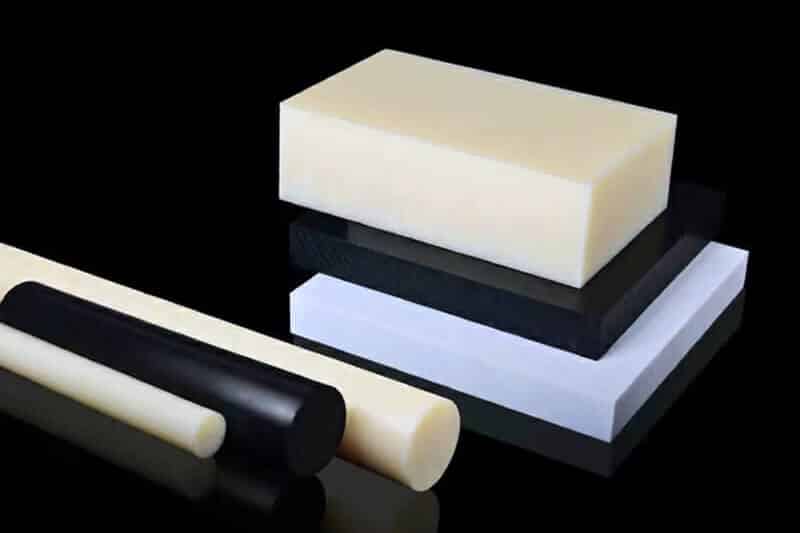
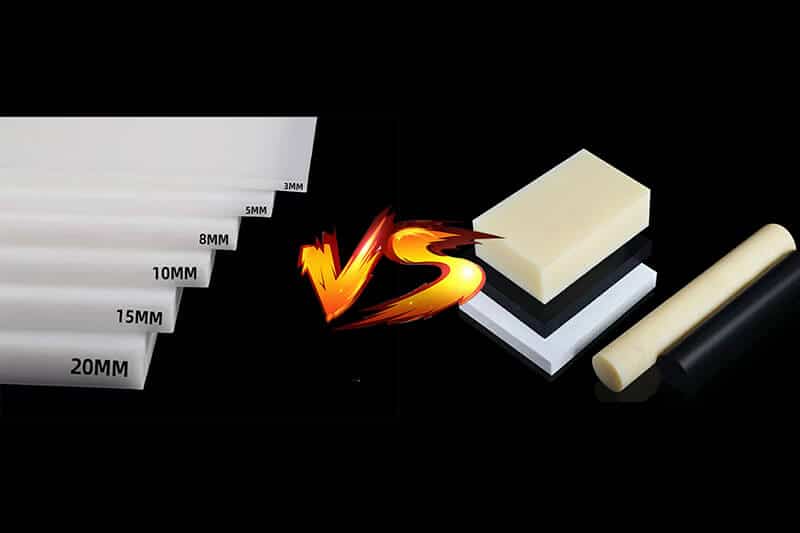
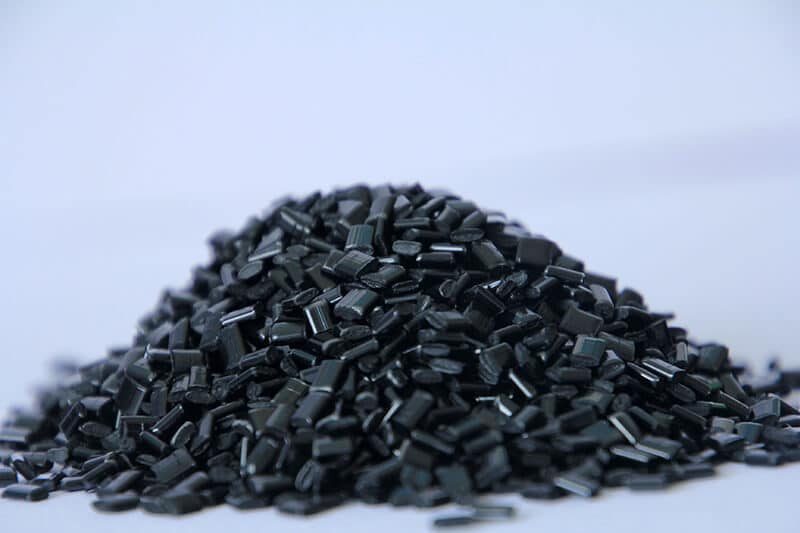
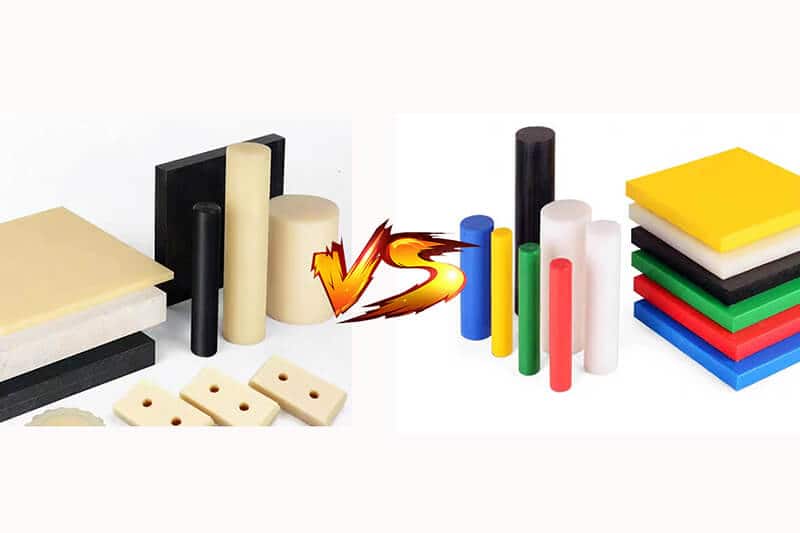
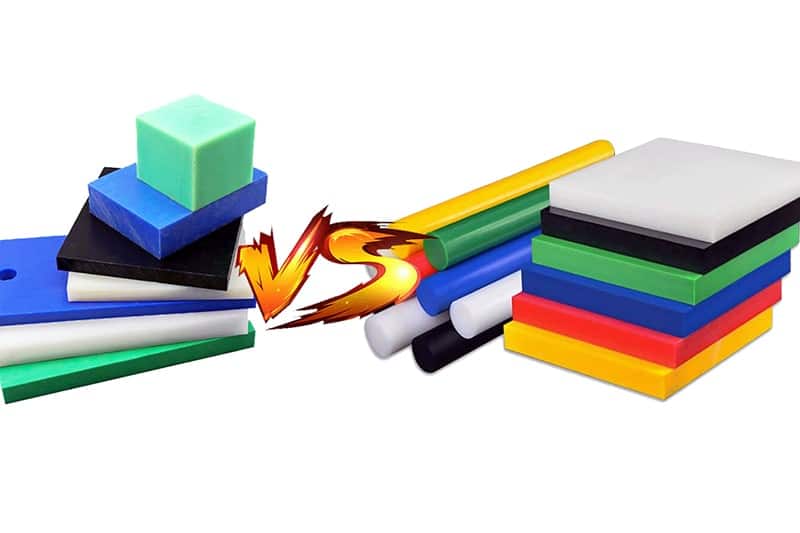
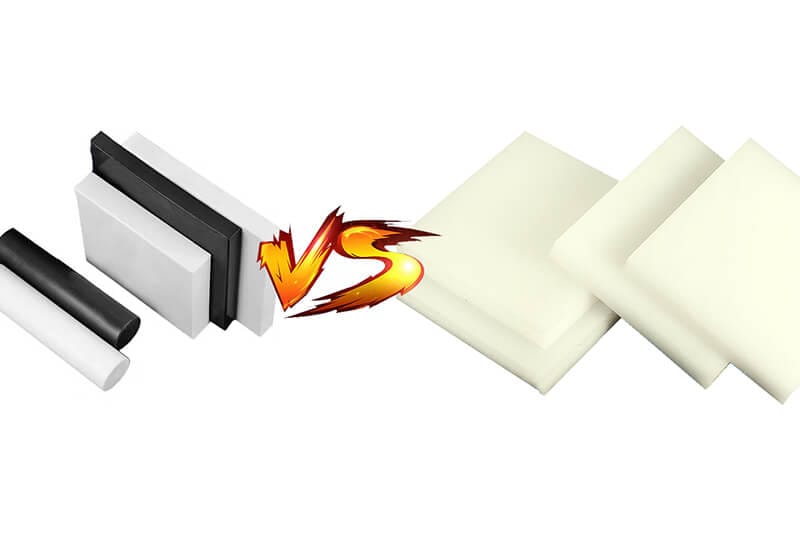
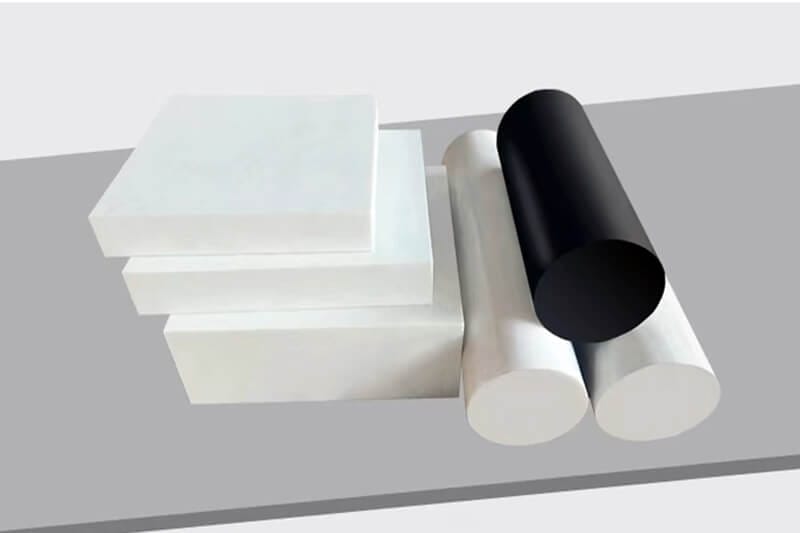
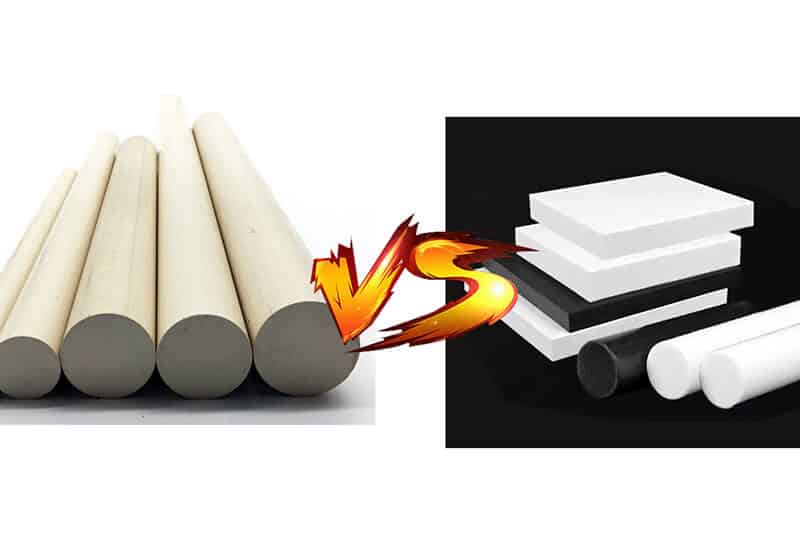
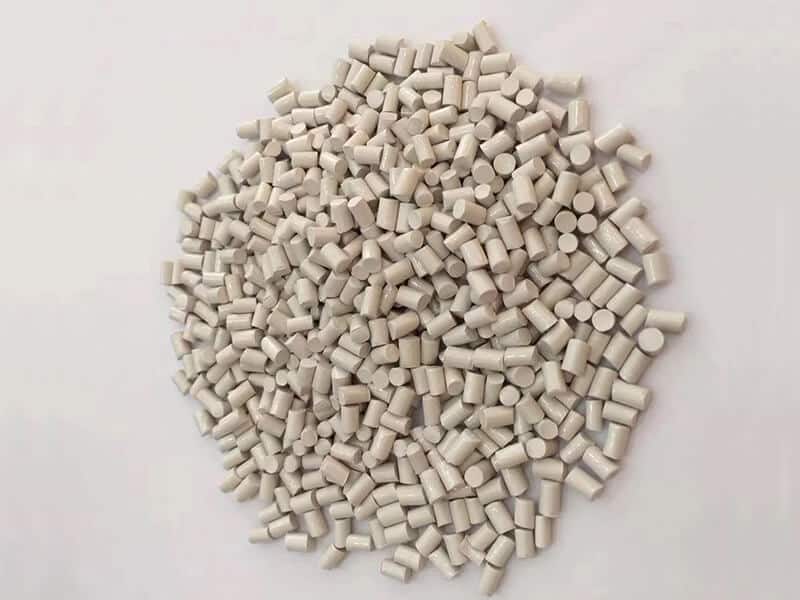
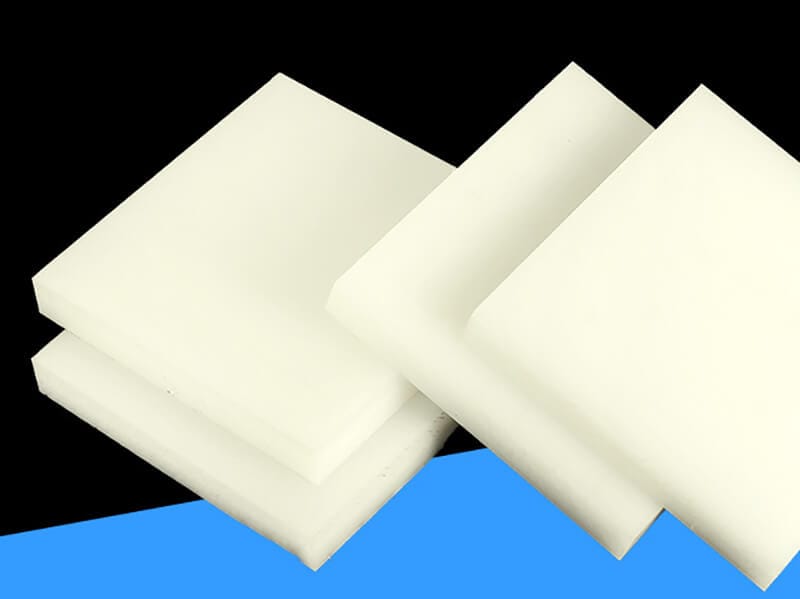
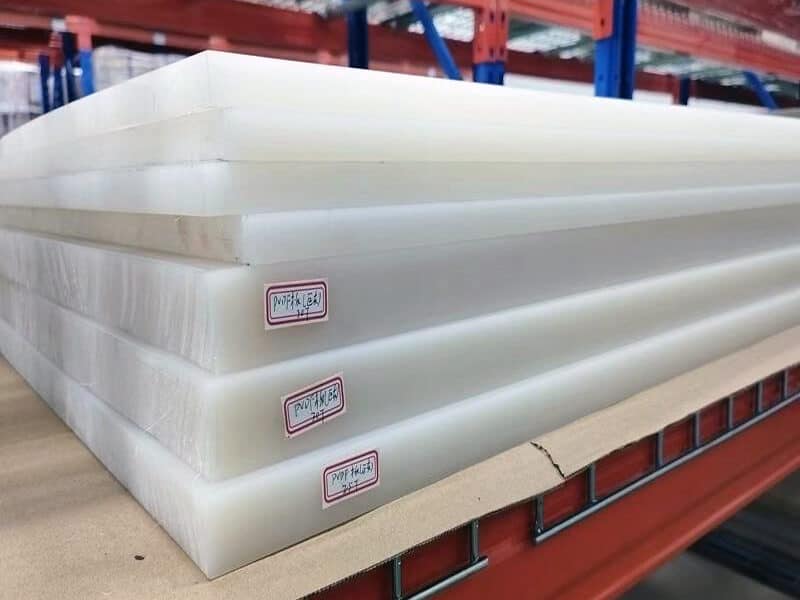
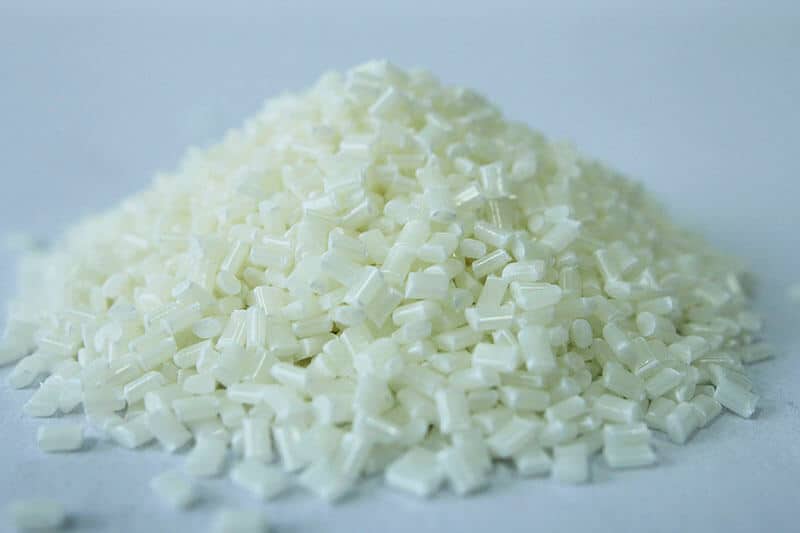
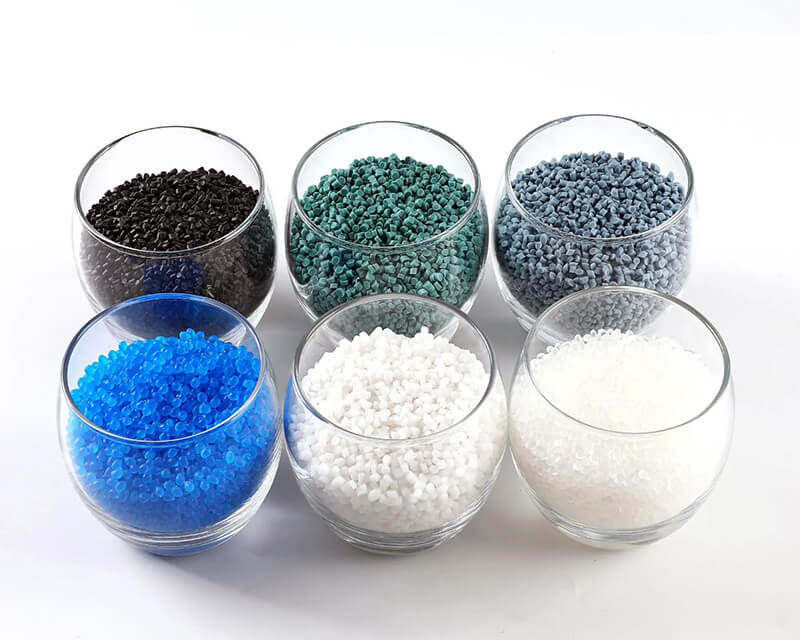
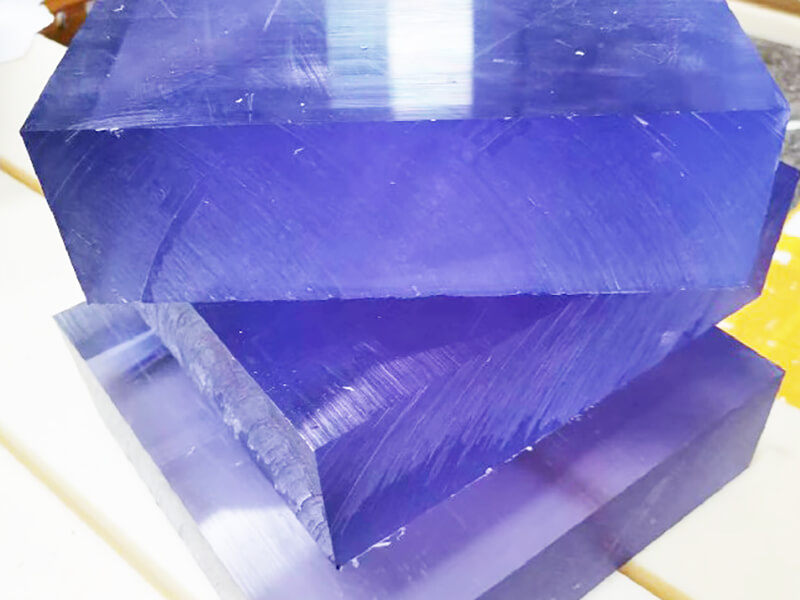
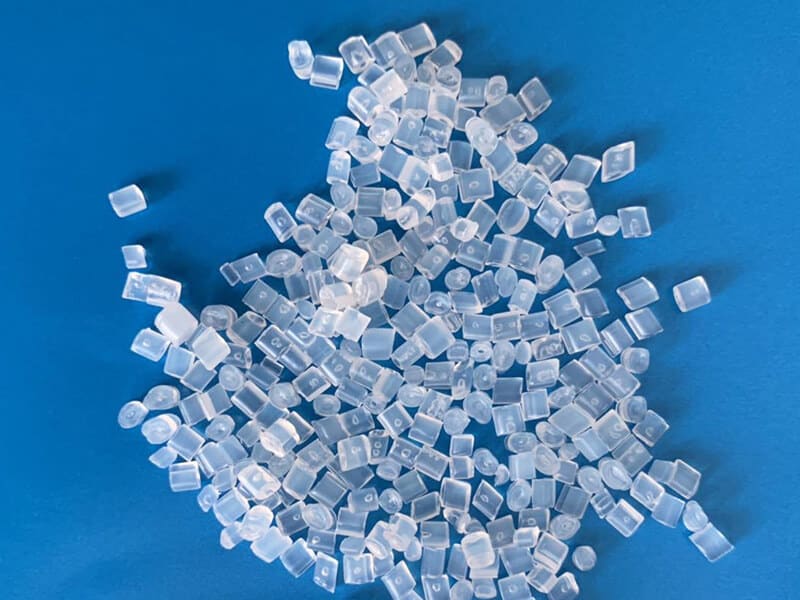
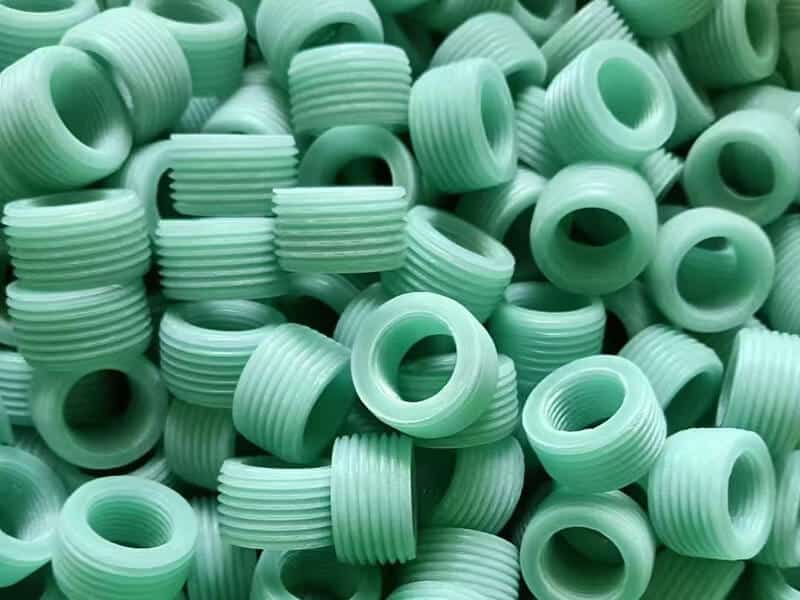
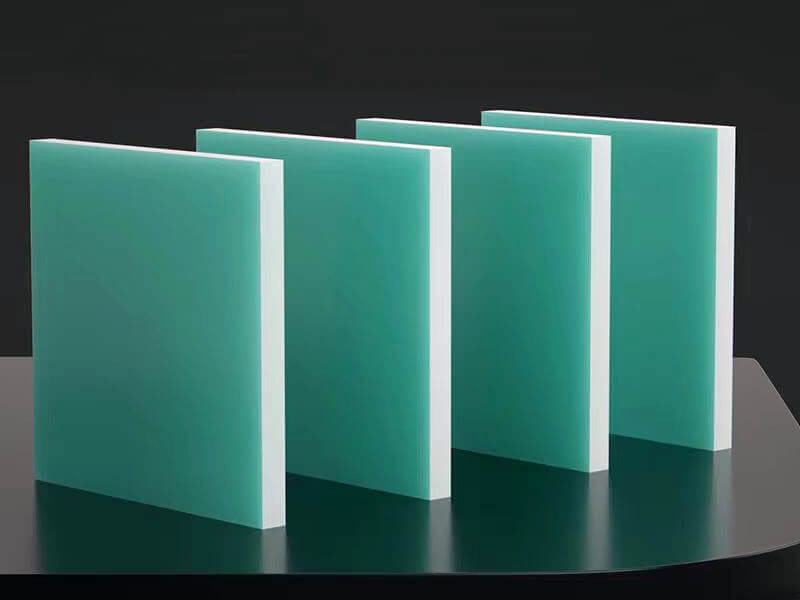
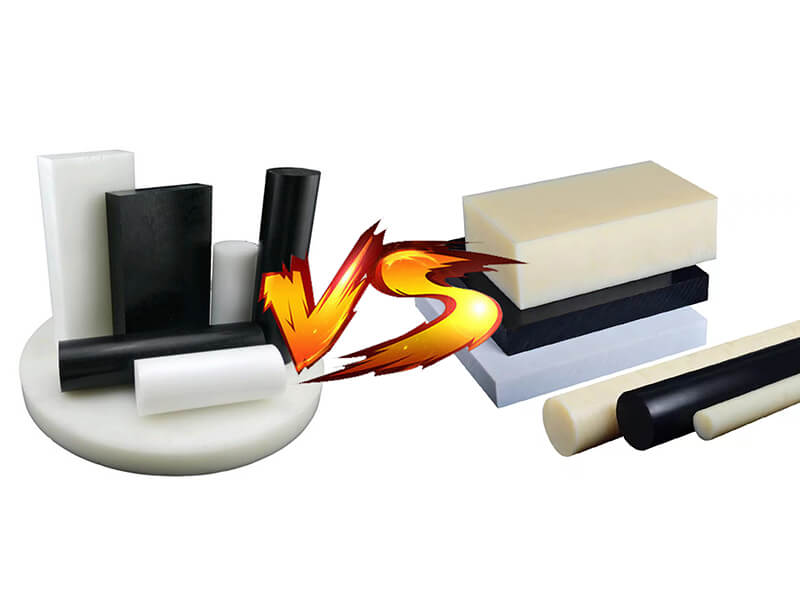
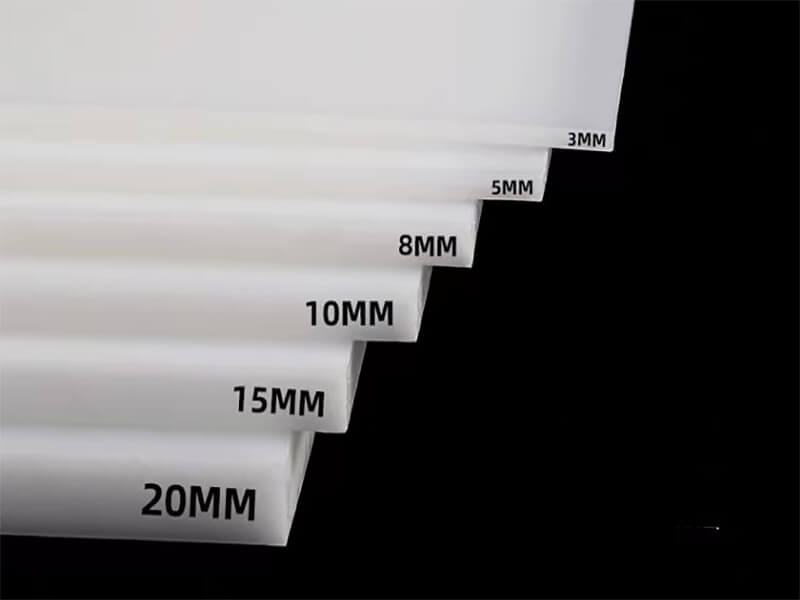
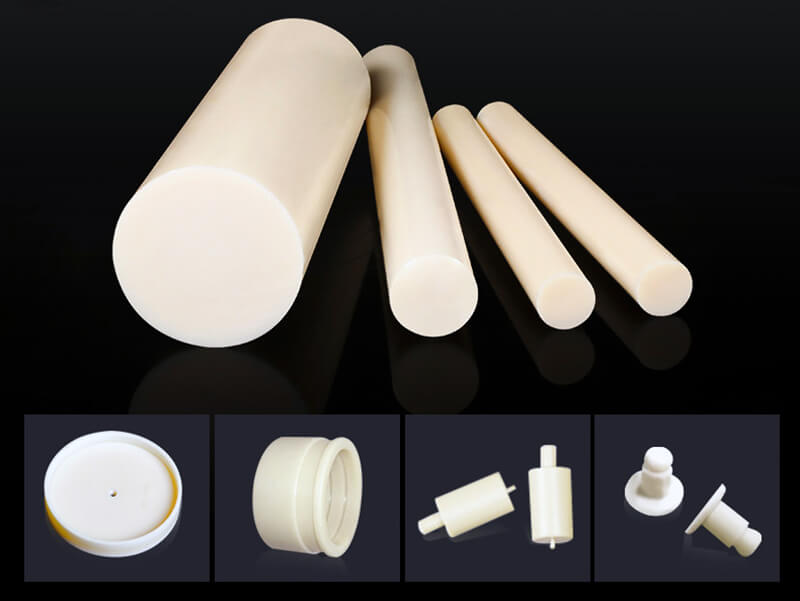
Delrin is the resin of high-performance Acetal, which is also known as Polyoxymethylene (POM). Manufacturers, professionals, product designers, etc., from various industries, highly favor using this engineering material due to its exceptional strength, low friction, chemical resistance, etc. Machining is essential to accessing its full potential for producing various final products.
In this article, we describe the process of machining Delrin in detail and discuss the advantages and challenges associated with it.
Advantages of Machining Delrin
In this section, we will inform the competitive advantages of machining this construction material.
Compared to some other plastic-type materials’ machining processes, machining Delrin requires a shorter turnaround time. So, it is highly suitable for meeting tight project deadlines;
Machining can produce a high-quality surface finish on Delrin parts, which triggers more smoothness in the final product;
Machining allows us to get advantages of its superior properties like low coefficient of friction, excellent wear resistance, good mechanical strength, etc., effectively;
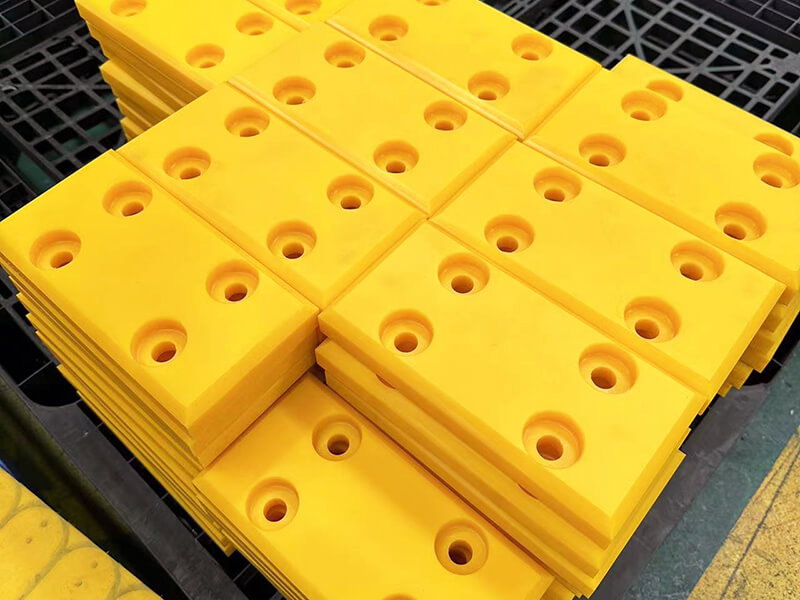
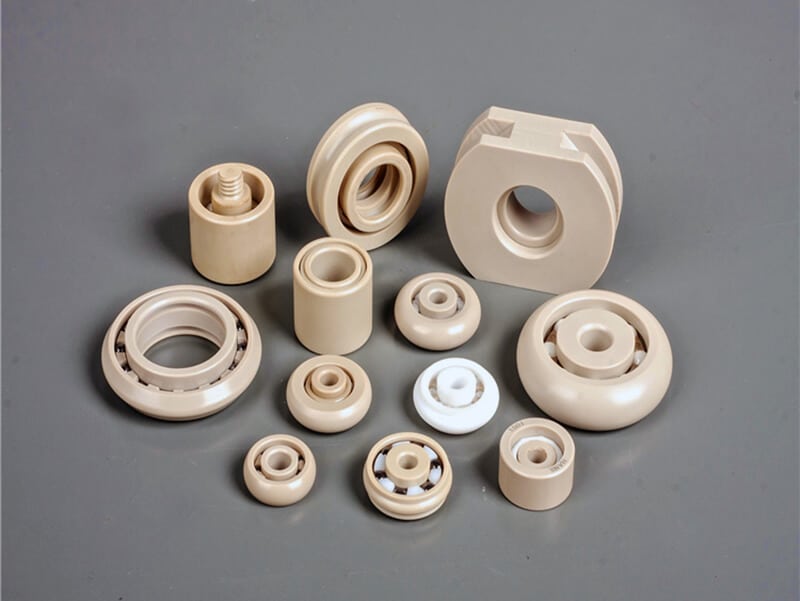
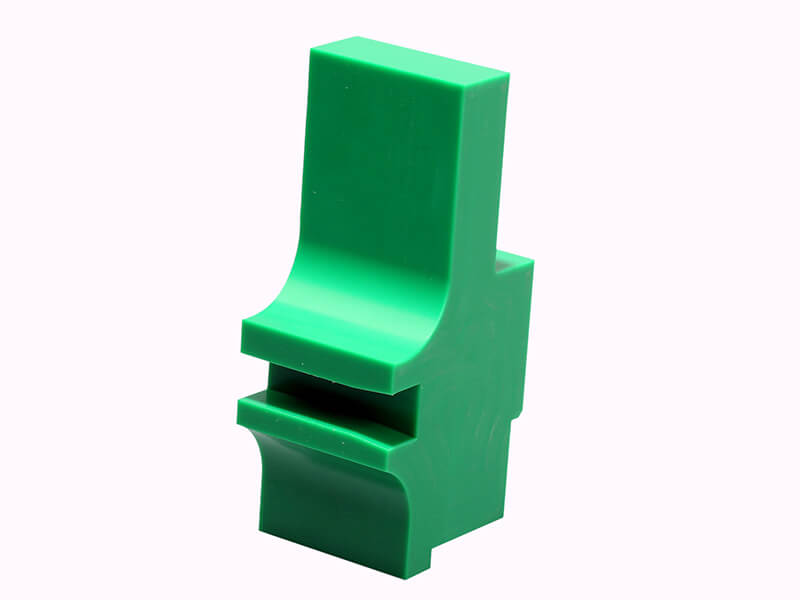
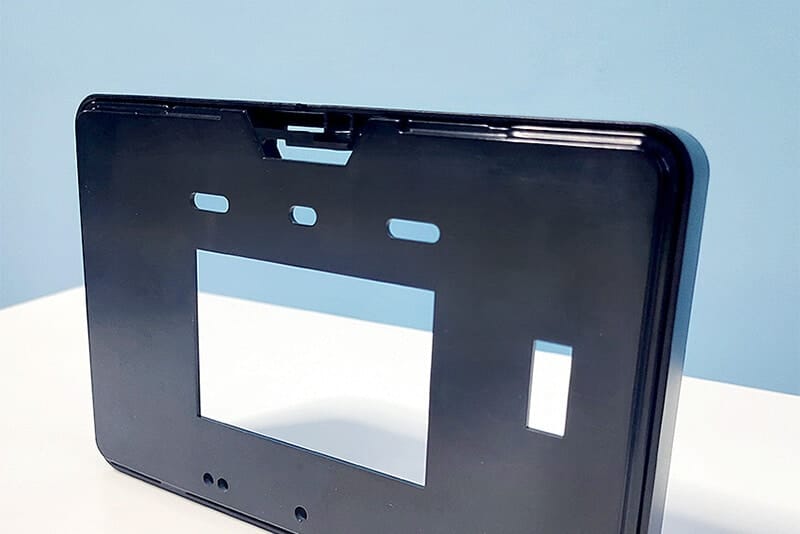
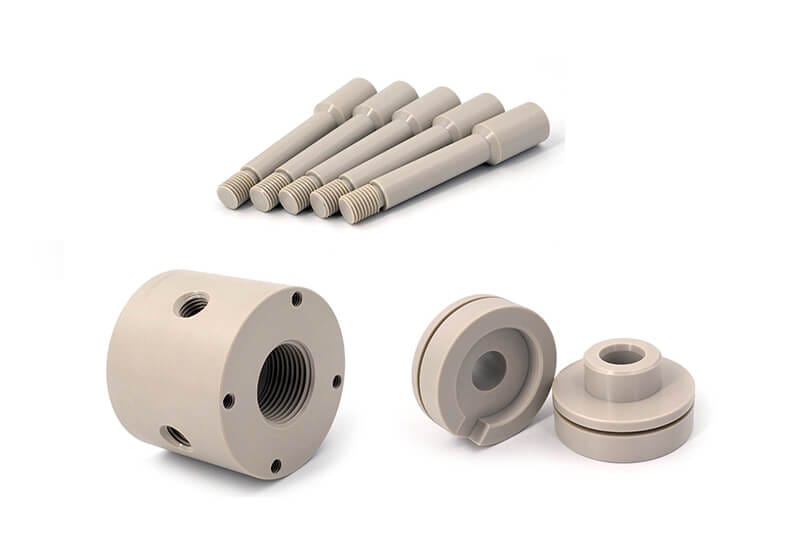
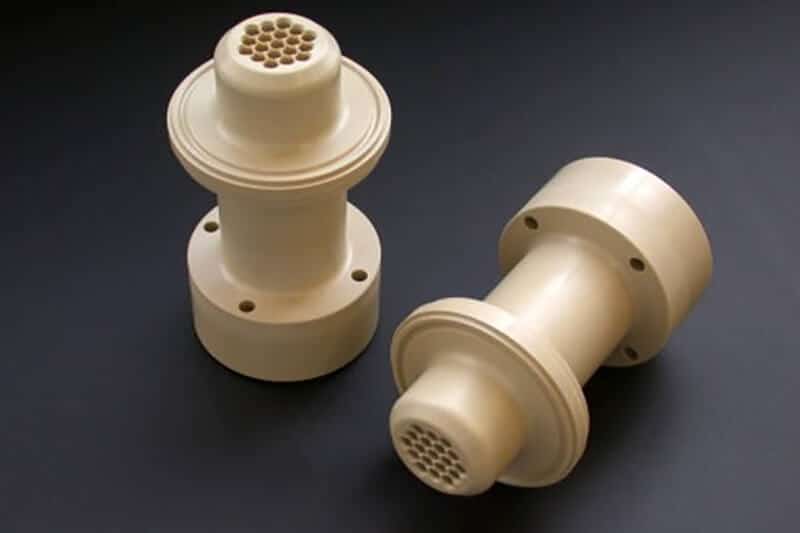
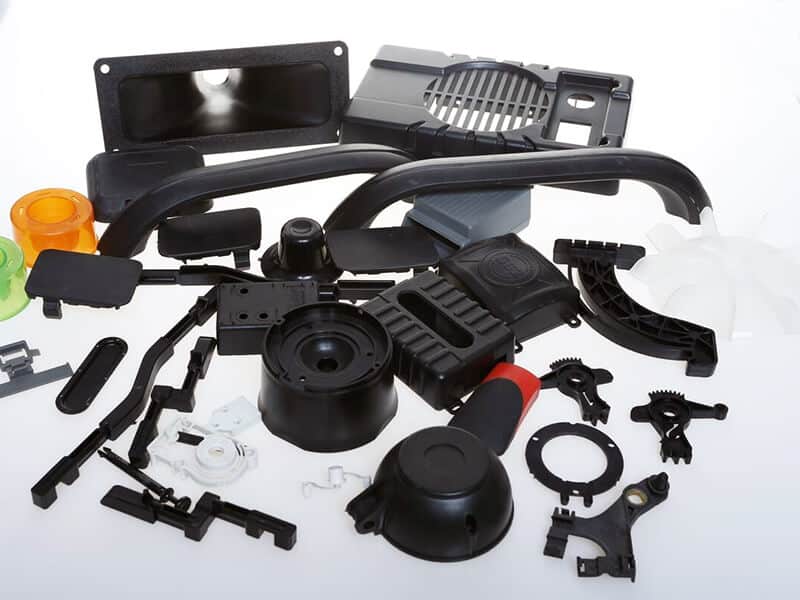
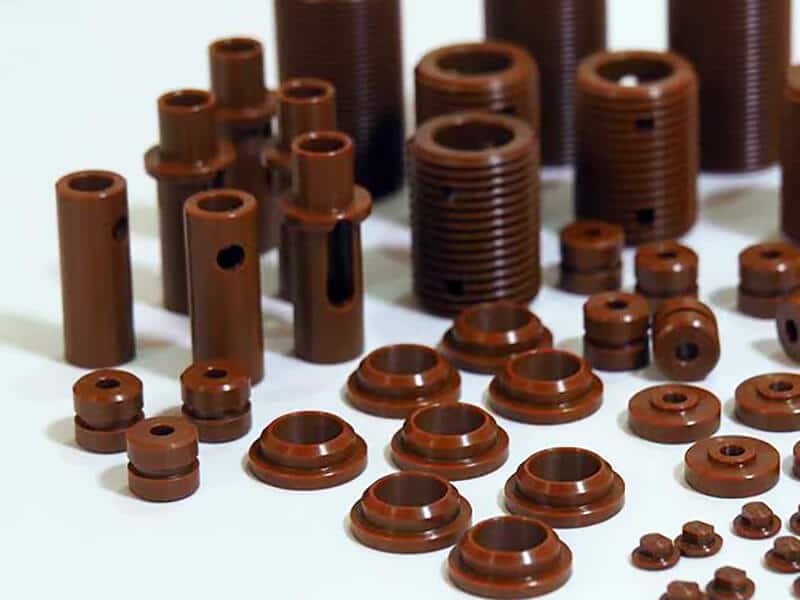
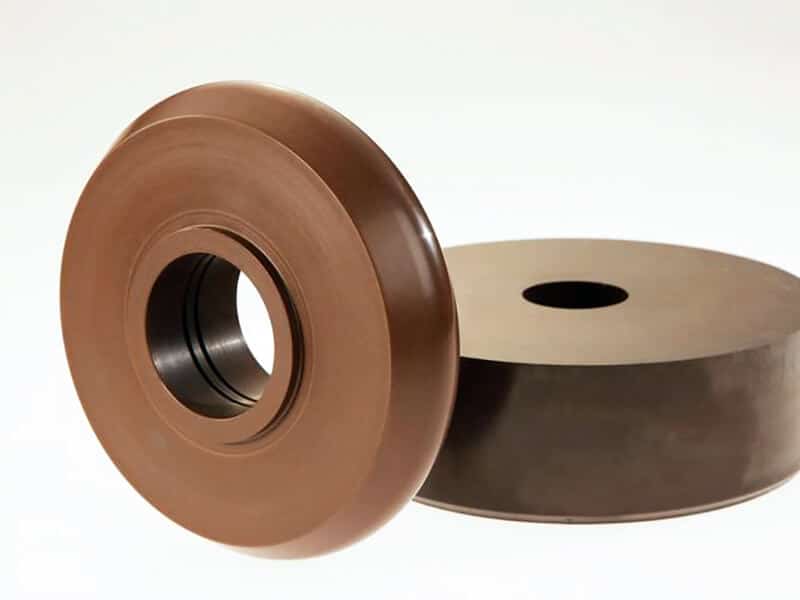
To create complex mechanical components of a main product, the machining of Delrin is essential;
Delrin’s machinability allows for the rapid production of prototypes, saving time, cost, and effort in machining this construction material.
In-depth Discussion on Machining of Delrin
In this section, we detail Delrin’s various machining processes.
Drilling of Delrin
The following is the stepwise guideline.
Step 1: First, we select the appropriate piece of material and mark the spots where the drilling is needed.
Step 2: We select the right drill bit. Generally, we prefer a standard 118° twist drill bit. Here, we ensure that the leading edge of the drill bit is flat. Additionally, we adjust the drill lip angle to promote cutting instead of scraping.
Step 3: At this stage, we use a clamp to fix the Delrin workpiece appropriately on the workbench and ensure that it does not move while drilling.
Step 4: We start the drilling process by imposing gentle force. Here, we maintain a 1500 RPM of the drill bit’s rotational speed while avoiding suddenly putting a more significant amount of force. Also, the implementation of inconsistent downward pressure is a must-avoid task. We ensure that the drill bit enters the Delrin material smoothly due to the application of a consistent and controlled downward force.
Step 5: If excessive heat is generated during the drilling process of Delrin, we use coolant to lower the heat level to the tolerated level. This action prevents overheating and keeps the tool cool. Here, we must mention that frequent removal of accumulated chips is required.
Step 6: The drilling process continues till the desired depth or hole size is achieved.
Step 7: After drilling, we inspect the hole for dimensional accuracy and surface finish. If there is any issue with the finishing, we use sandpaper to rub that portion, making it smooth and polished.
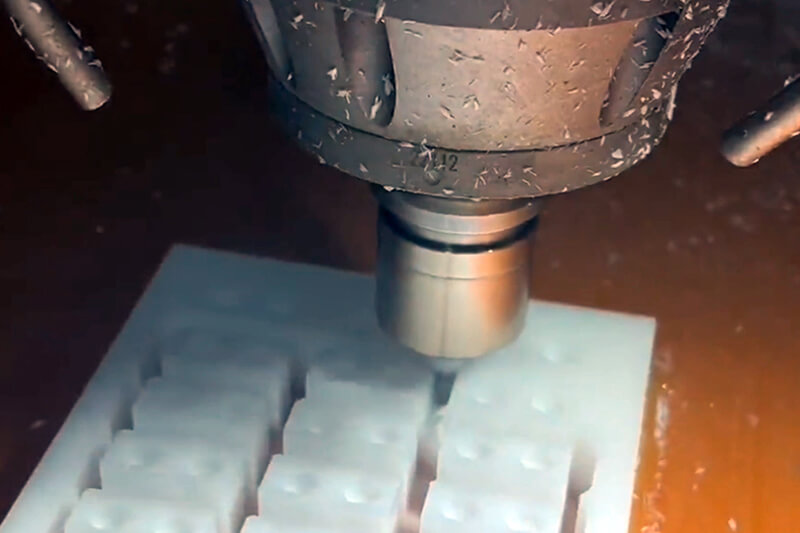
Cutting Process of Delrin
Here are the step-by-step guidelines for cutting Delrin.
Manual Way Cutting
Step 1: To begin with, we choose an appropriate cutting tool, typically a carbide cutter. Here, we also mark the lines for cutting.
Step 2: Next, we clamp that Delrin workpiece to the workbench properly.
Step 3: We position the cutter depending on the specific cutting requirements.
Step 4: We continuously monitor the cutting process. We maintain cutting speed at 250m/min and feed rate at 150 m/min.
Step 5: We pay close attention to the formation of chips and the potential generation of heat. Here, frequent chip removal and coolant application occur.
Step 6: Upon completing the cutting work, we carefully examine the overall quality and use sandpaper to facilitate a perfect finish.
Cutting By Laser
Step 1: In the beginning, we create a design in CAD software. This design can be in vector format for cutting or engraving. Also, a pre-existing image can be used here.
Step 2: We import the CAD drawing into the laser cutter’s software.
Step 3: In this step, we adjust the laser system’s parameters. We set the cutting speed at 3m per minute for our 1000W laser cutter.
Step 4: We go for a test cut.
Step 5: We start the main cutting job if everything is okay. Lastly, we check the finishing of the cut edges.
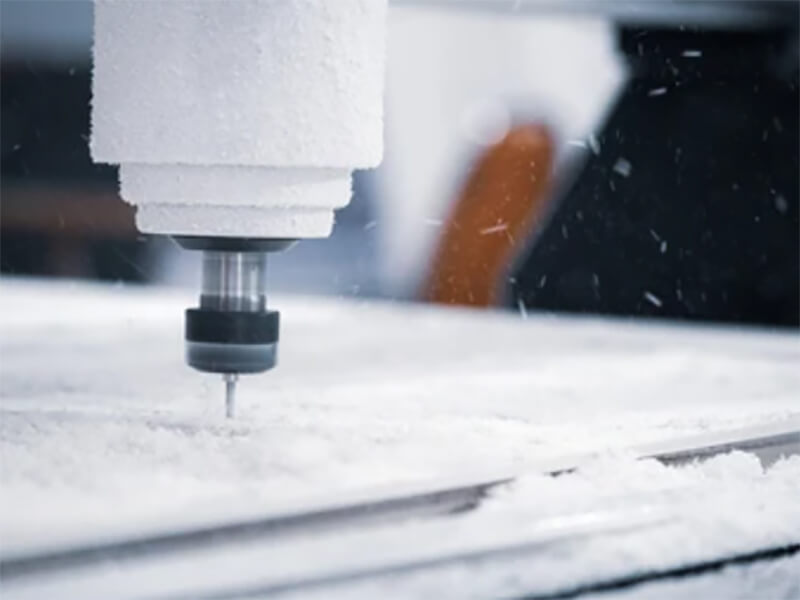
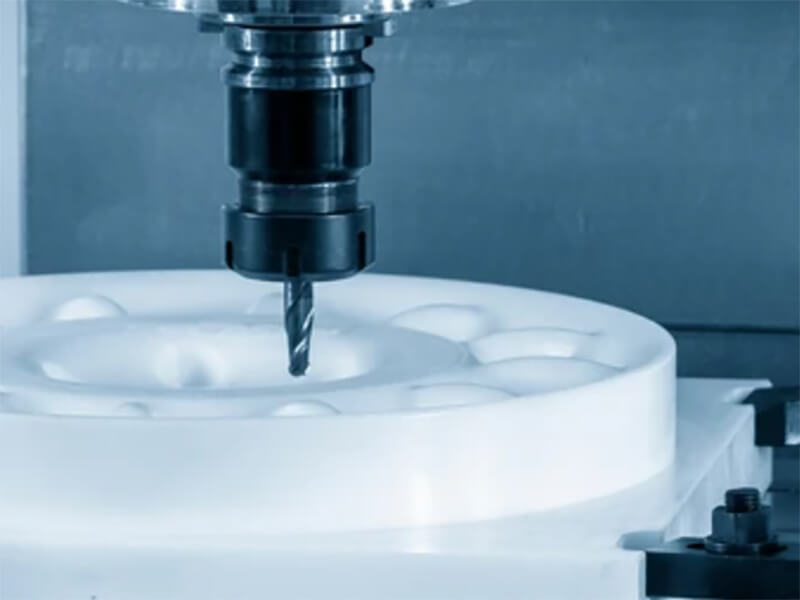
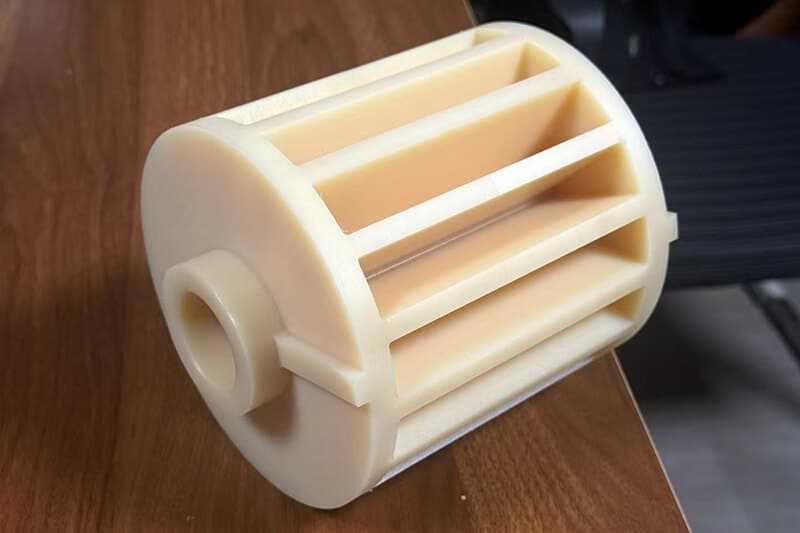
Milling of Delrin Using CNC
The following is the process.
Step 1: We draw the respective design of the final Delrin component in CAD, including the required holes, threads, curves, etc.
Step 2: Within the machining program, configure the essential parameters. We set a speed of 250 feet per minute. And we set the feed rate at 0.008 to 0.030 inches per tooth.
Step 3: Then, we securely mount the Delrin piece onto the CNC machine’s deck or holder,
Step 4: As the milling process commences, we maintain close and careful observation.
Step 5: In the case of excessive heat generation, we use coolant. And for chip generation, we simply remove those.
Step 6: Upon the completion of the milling process, we clear the workspace of any debris.
Step 7: We check the outcome’s quality. If any imperfections are detected, such as uneven surfaces or rough edges, sandpaper is used to fix that.
Final Words
Machining Delrin is essential to embrace engineering precision while producing various final components. Through careful planning, tool selection, and proper machining techniques, manufacturers can utilize Delrin’s potential.
However, successful Delrin machining is not just about the technical aspects. It’s also about a commitment to safety, precision, and continuous improvement.
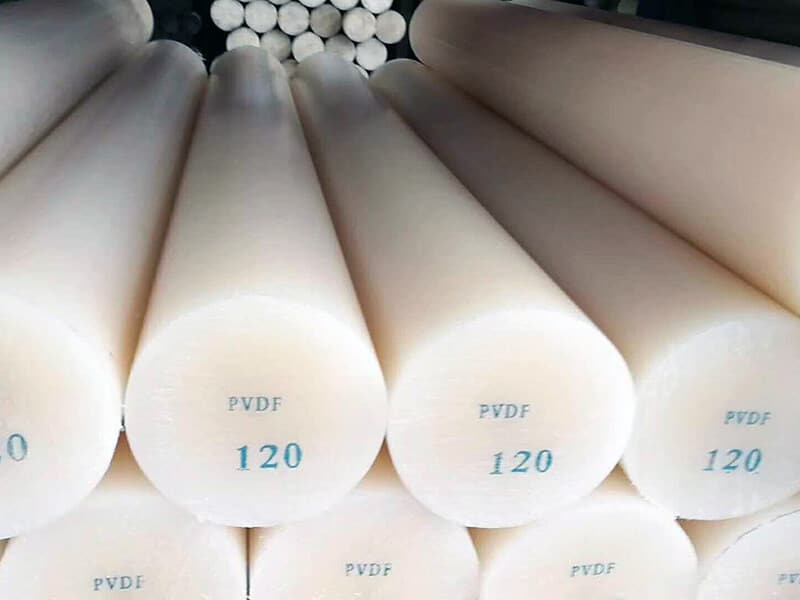
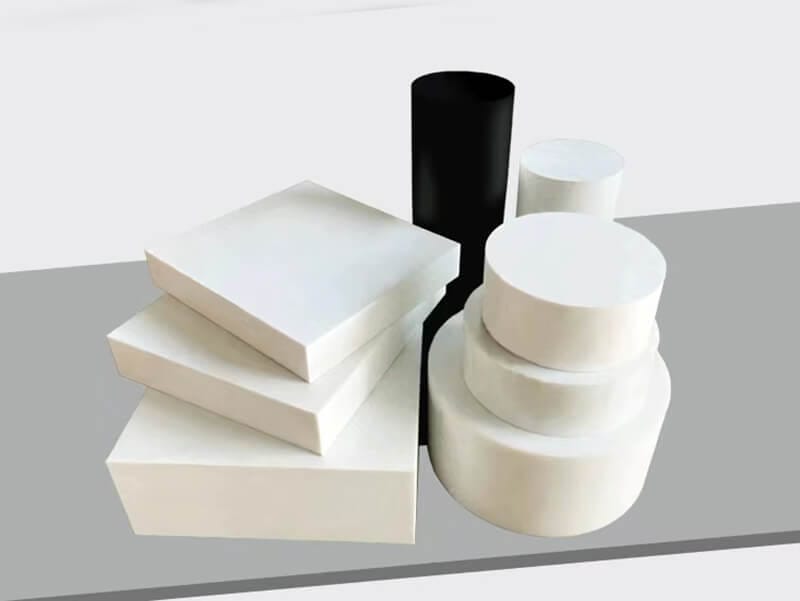
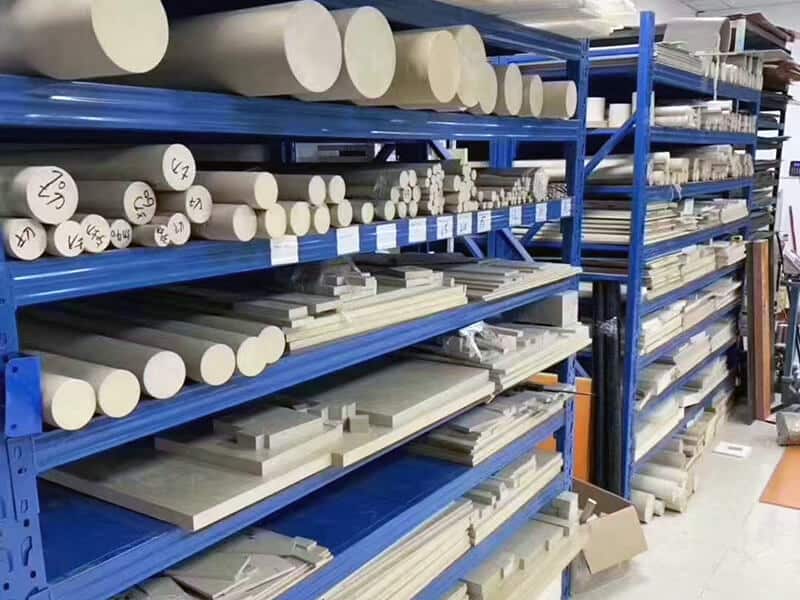
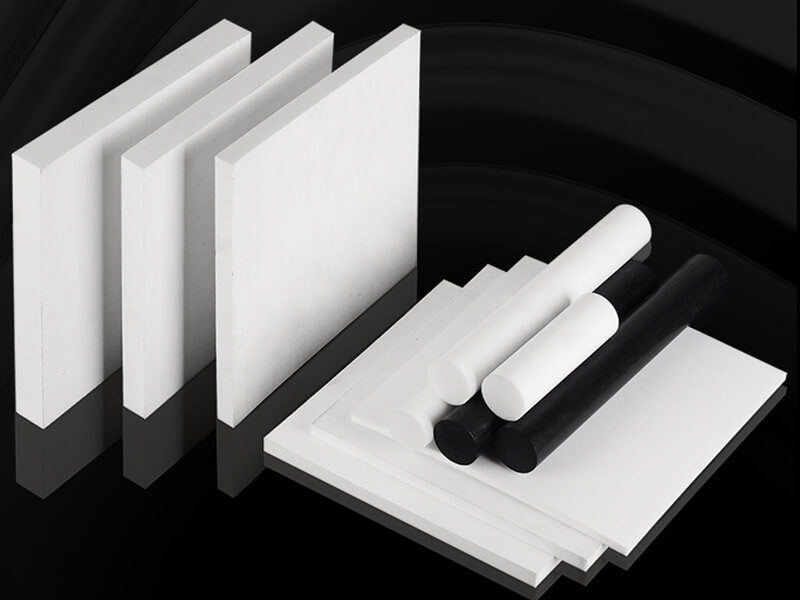
If you are looking for high-quality Delrin or POM plastic or a trustworthy supplier of machining Delrin parts, just contact UVTECO. It is a leading supplier in China and can provide Delrin in all forms.
Need a Trustworthy Supplier of Plastic, Foam, Sponge, Rubber, Metal, and Machining Solution. Click the Button, We Will Be In Touch With You As Quickly As Possible.